

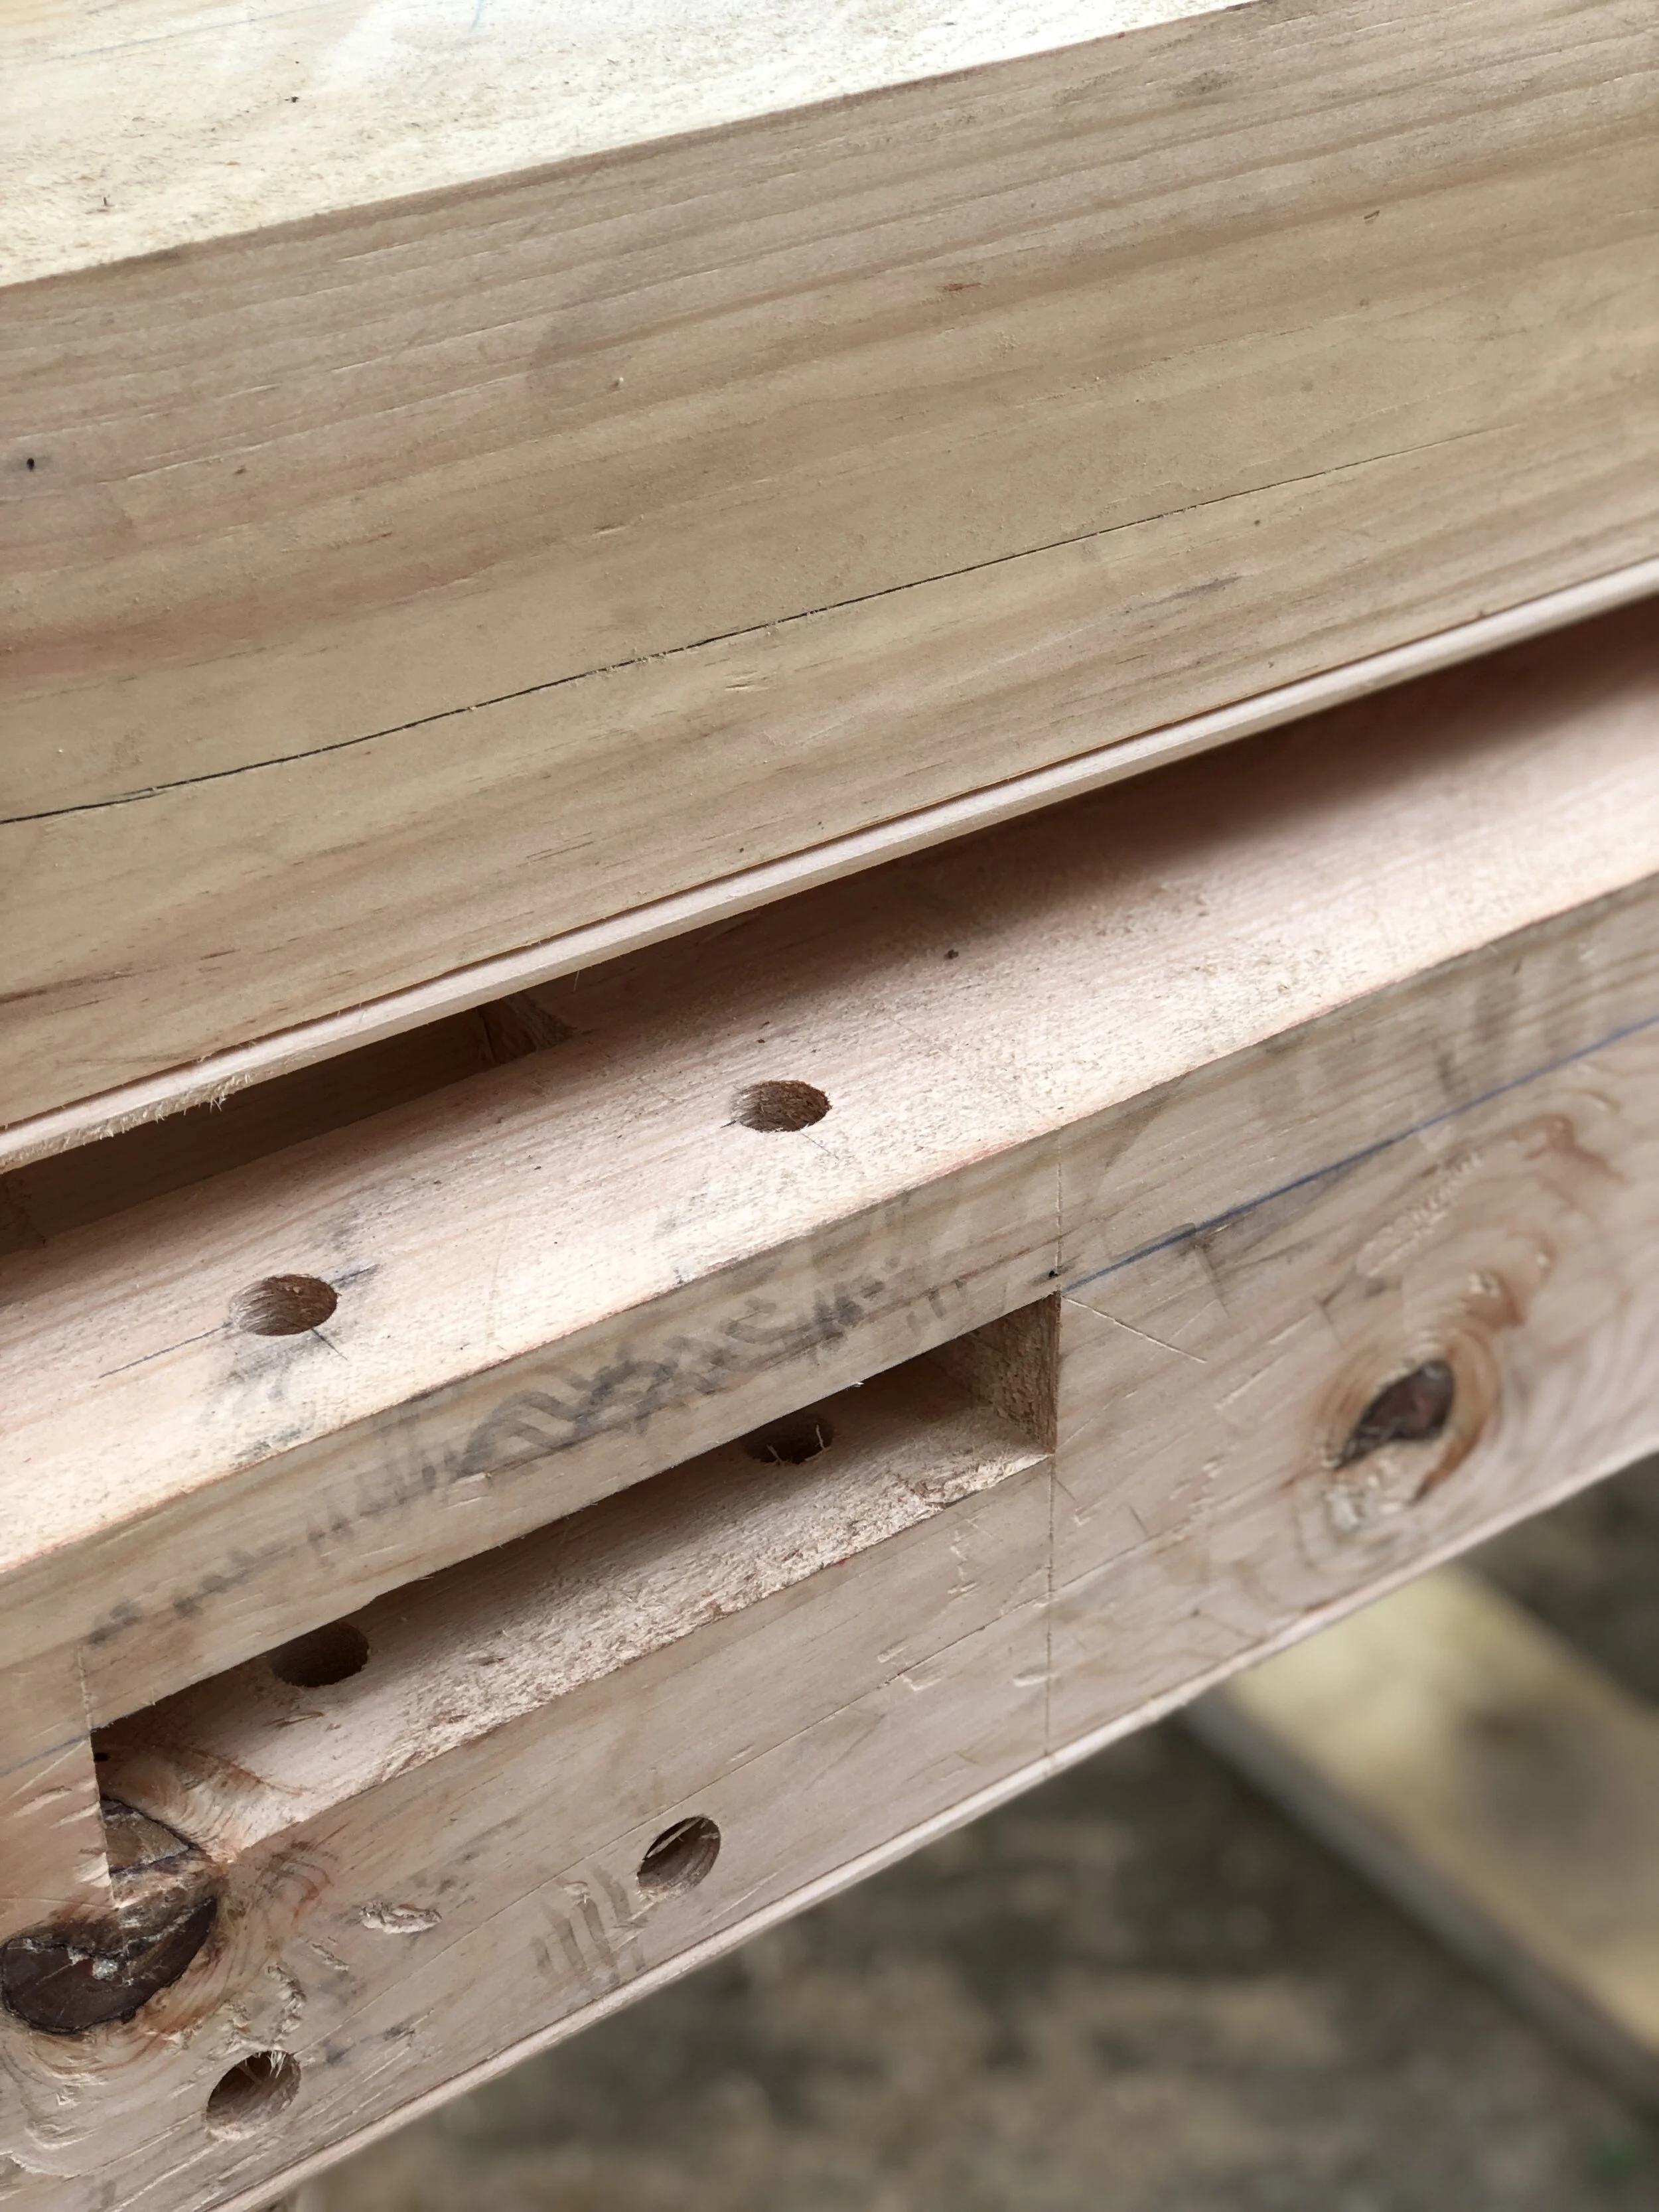
Freshly cut mortise just waiting for a new tenon.
Its been awhile since I’ve posted, but its because so much is happening every day and I hate to miss a thing!
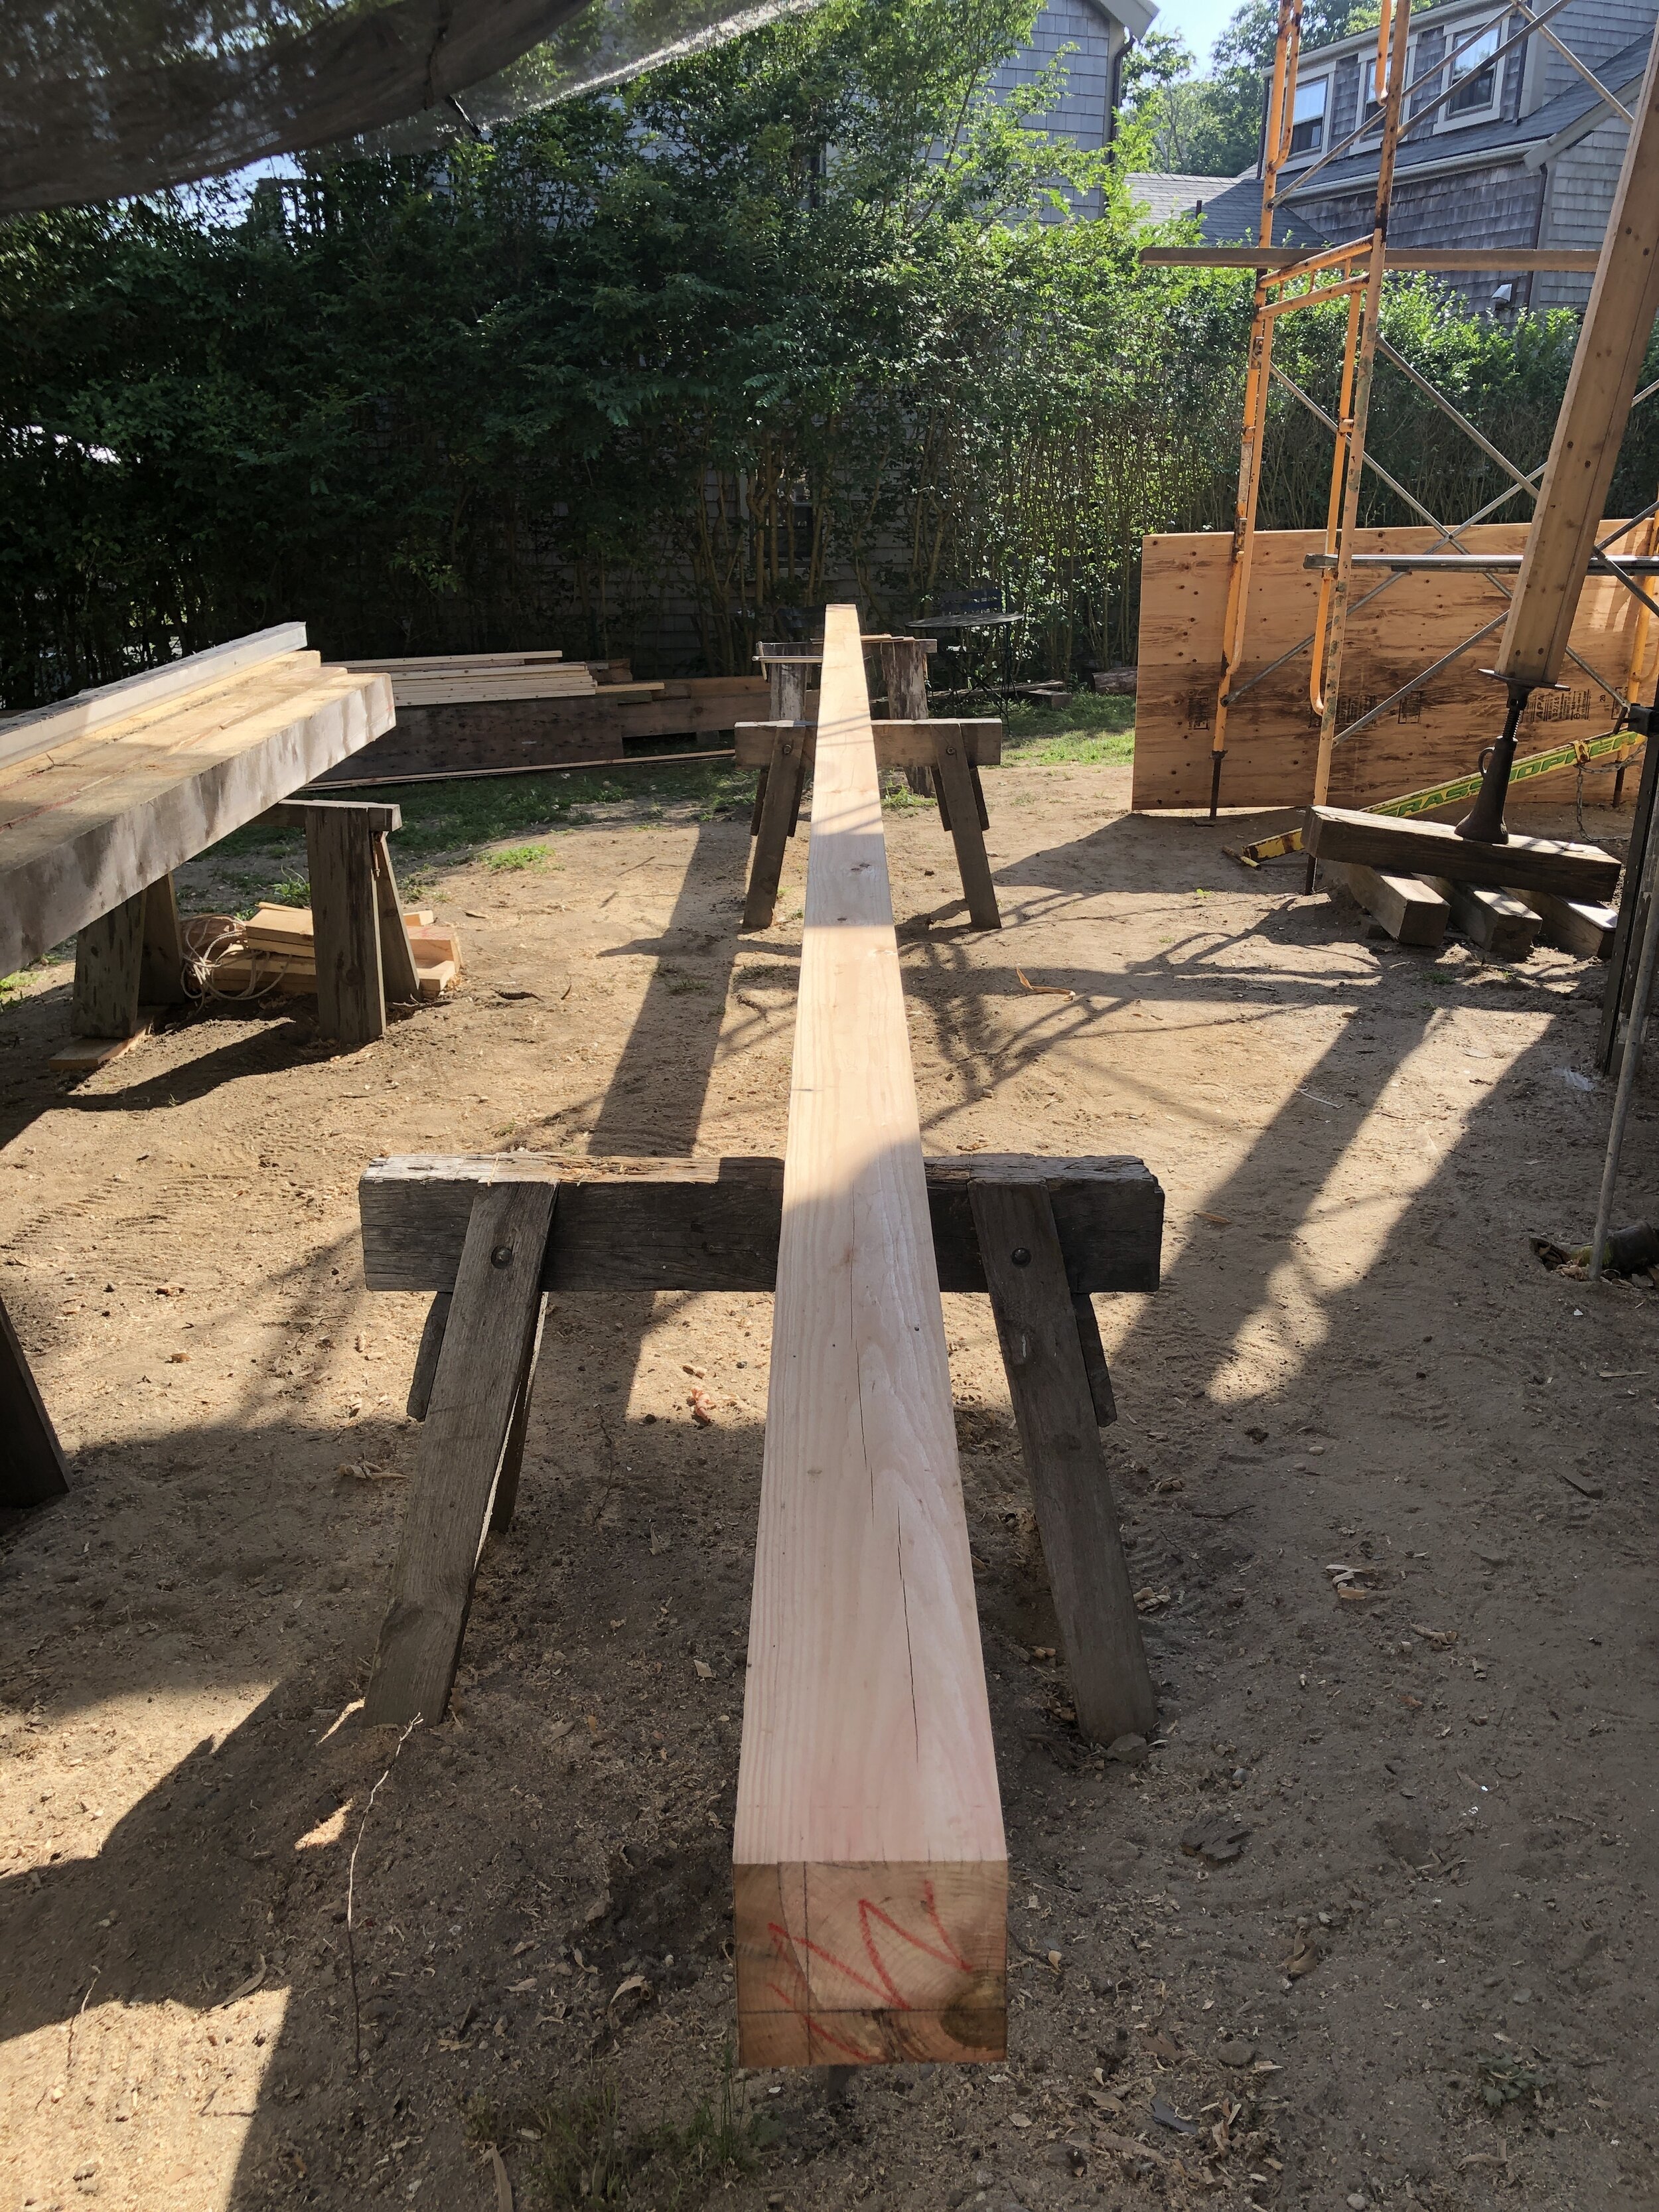
After the demo was completed, we started on the replacement of compromised framing members. Its a bit of a mystery in figuring out what gets addressed first. One would think its pretty straight forward, but after being immersed in the project, I can say its more of a puzzle with very large pieces being finessed into place; similar to an artist working with wood. I can’t count how many times I’ve just stared in awe…and then wondered at the craftsmanship employed by the 18th century builders…without a power tool in sight!
I have the best craftsman on this project with me and can’t tell you what a joy it is to see them at work. It makes this daunting project so much easier, knowing I have like minds and able hands working with me!

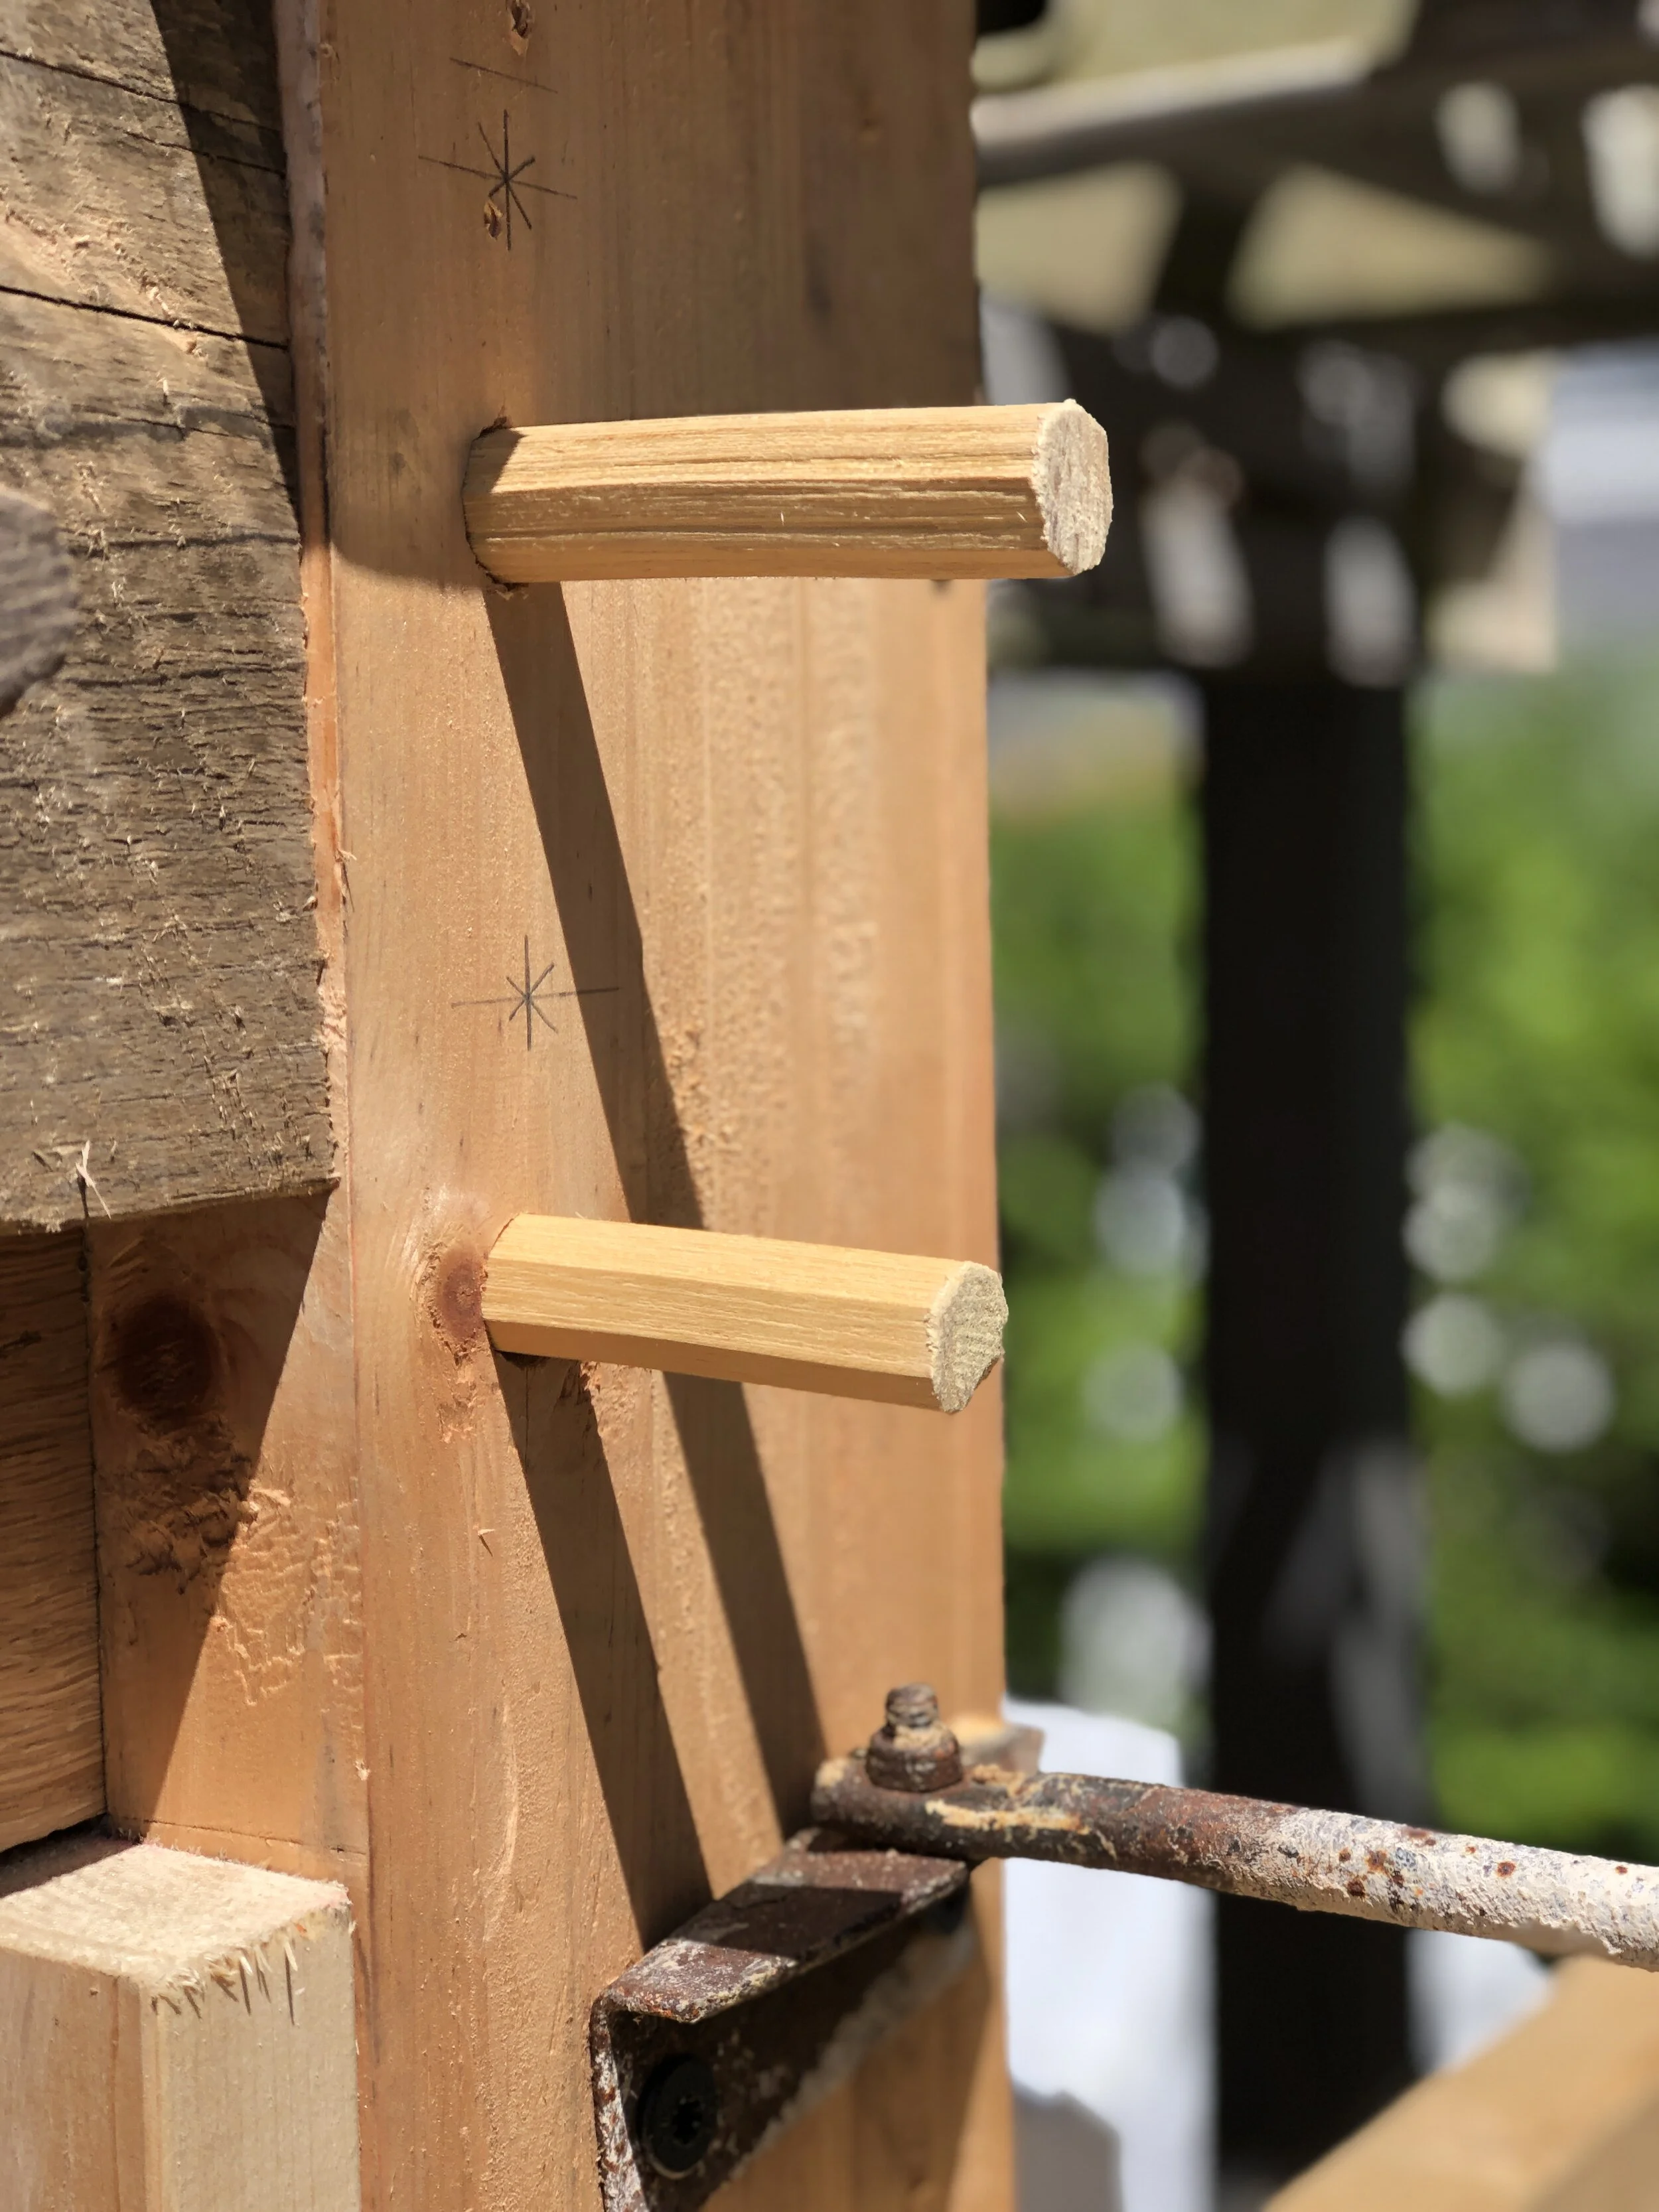
Nathaniel’s (puzzle) map of connections; full replacement, scarf joints of varying kinds and lots of mortise and tenons…all done by hand.
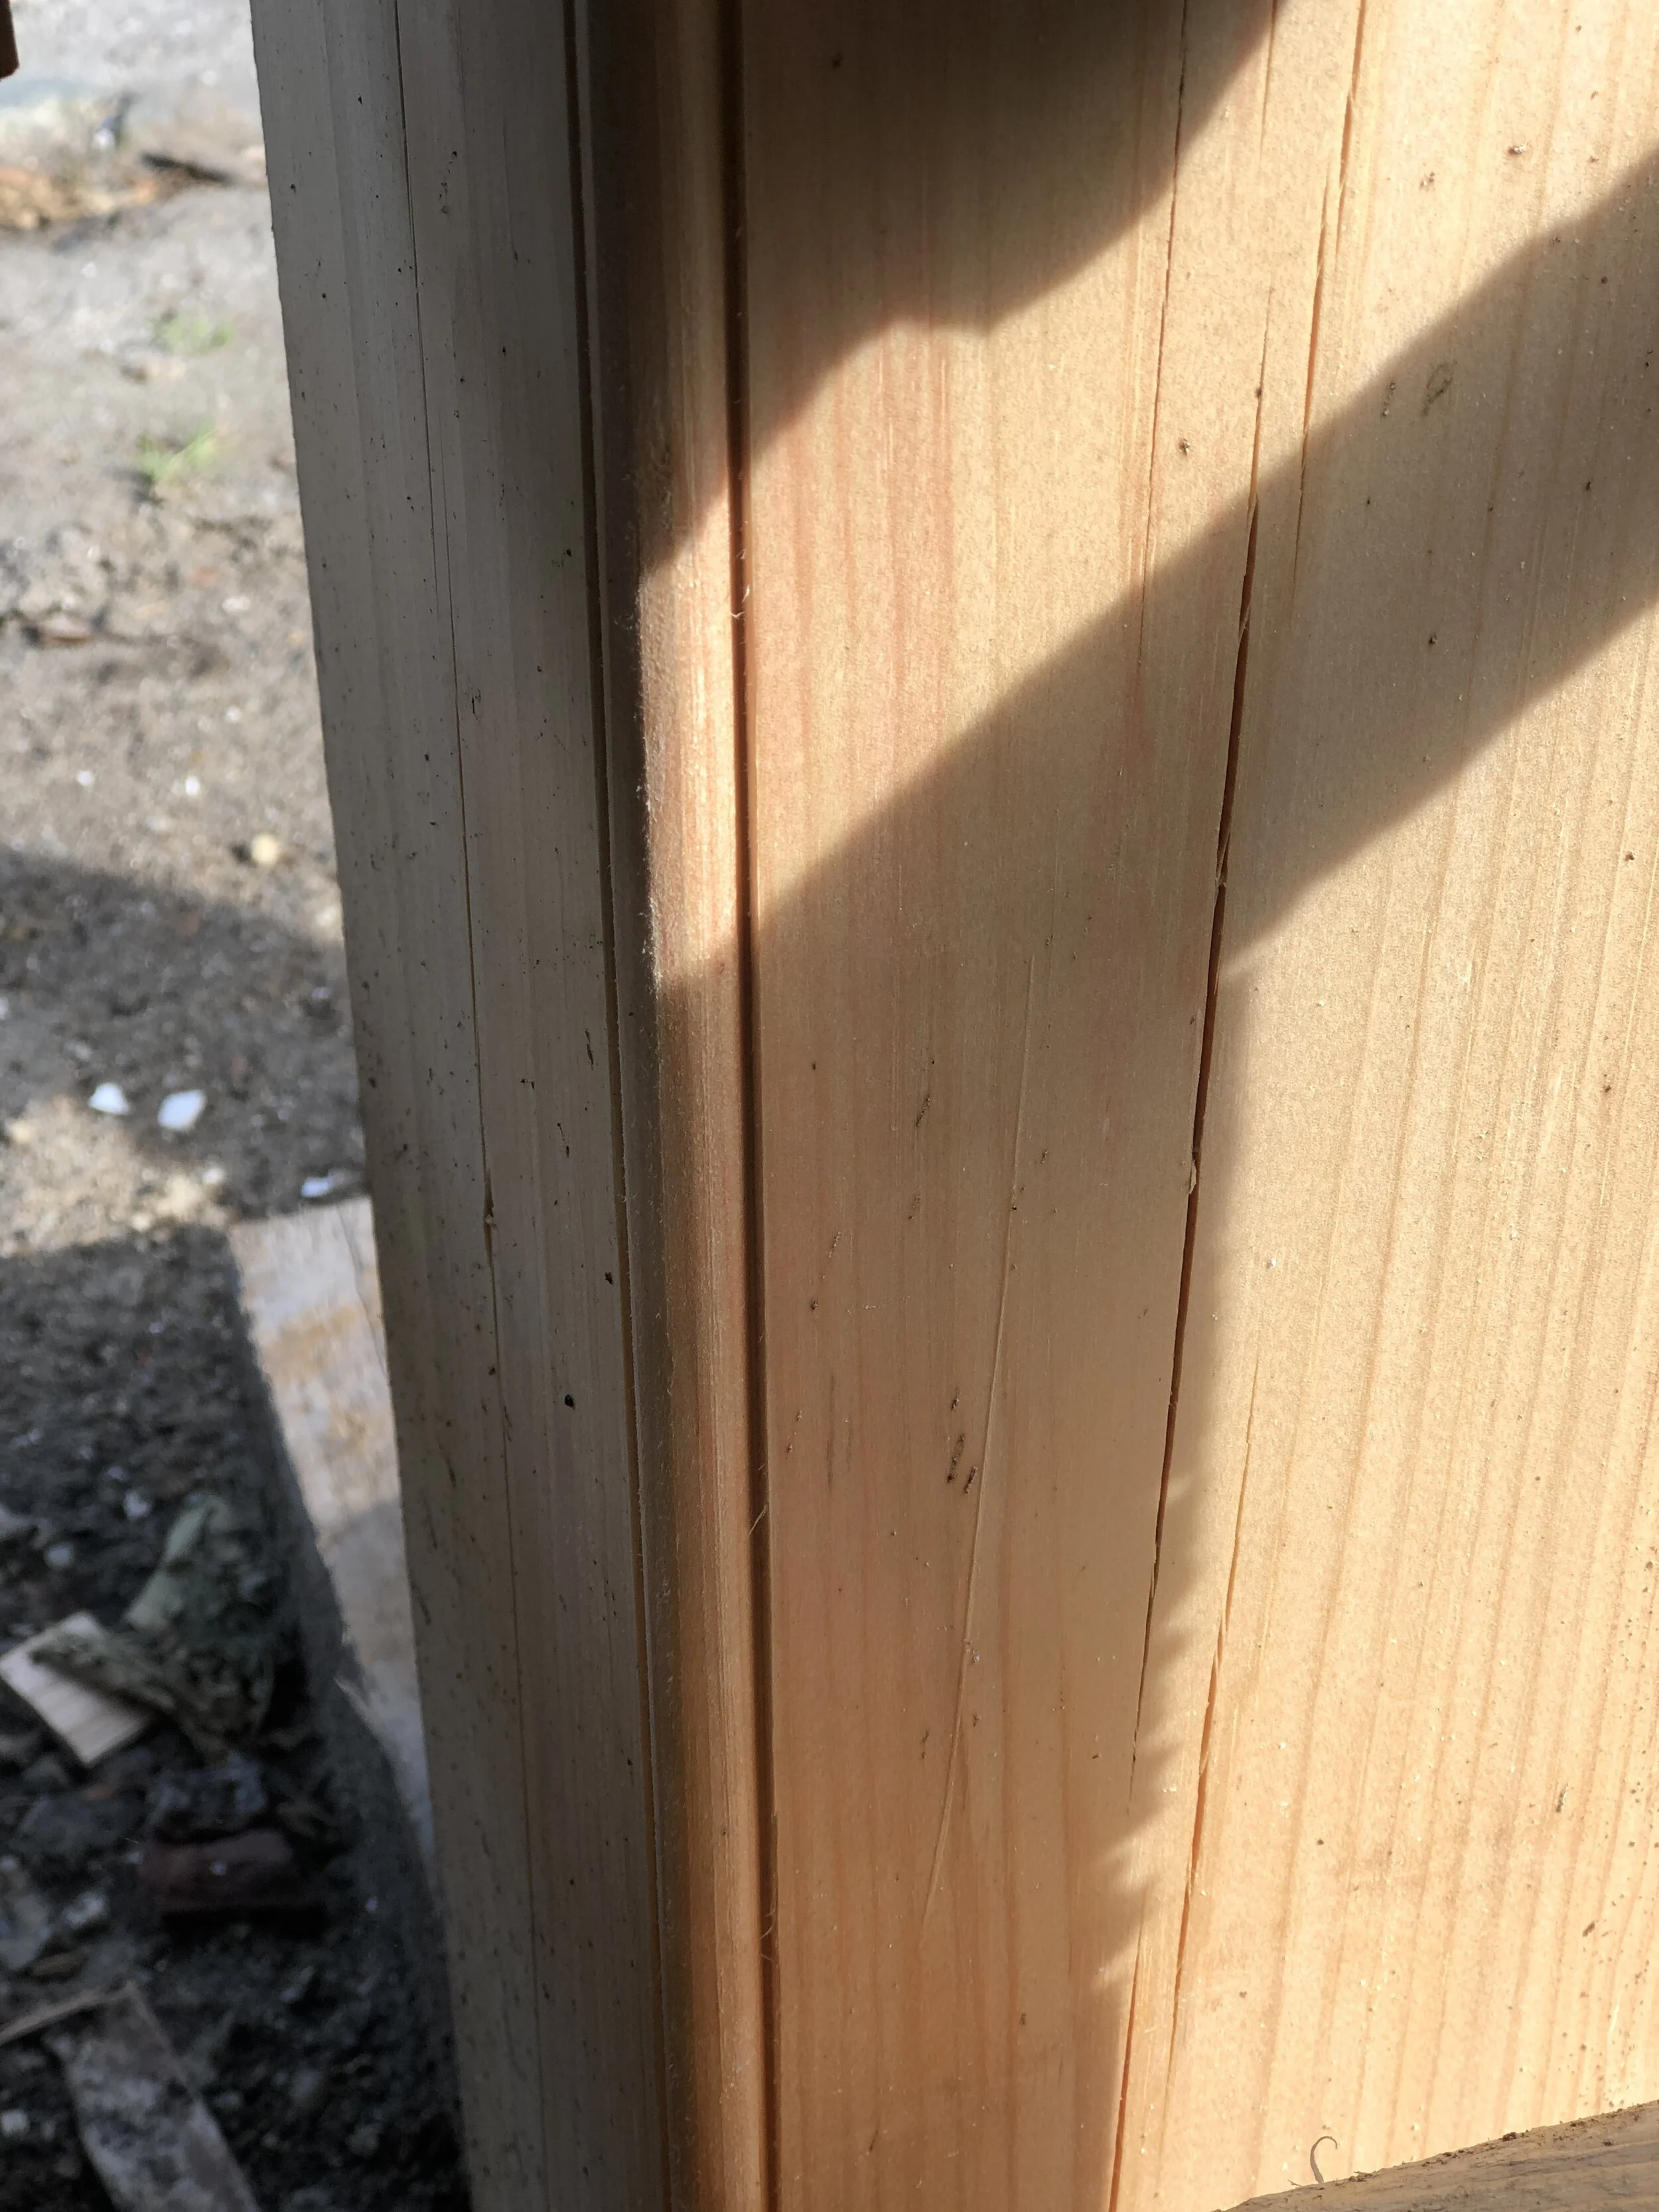
Interior bead (quirk) to match the interior detail of the original posts.
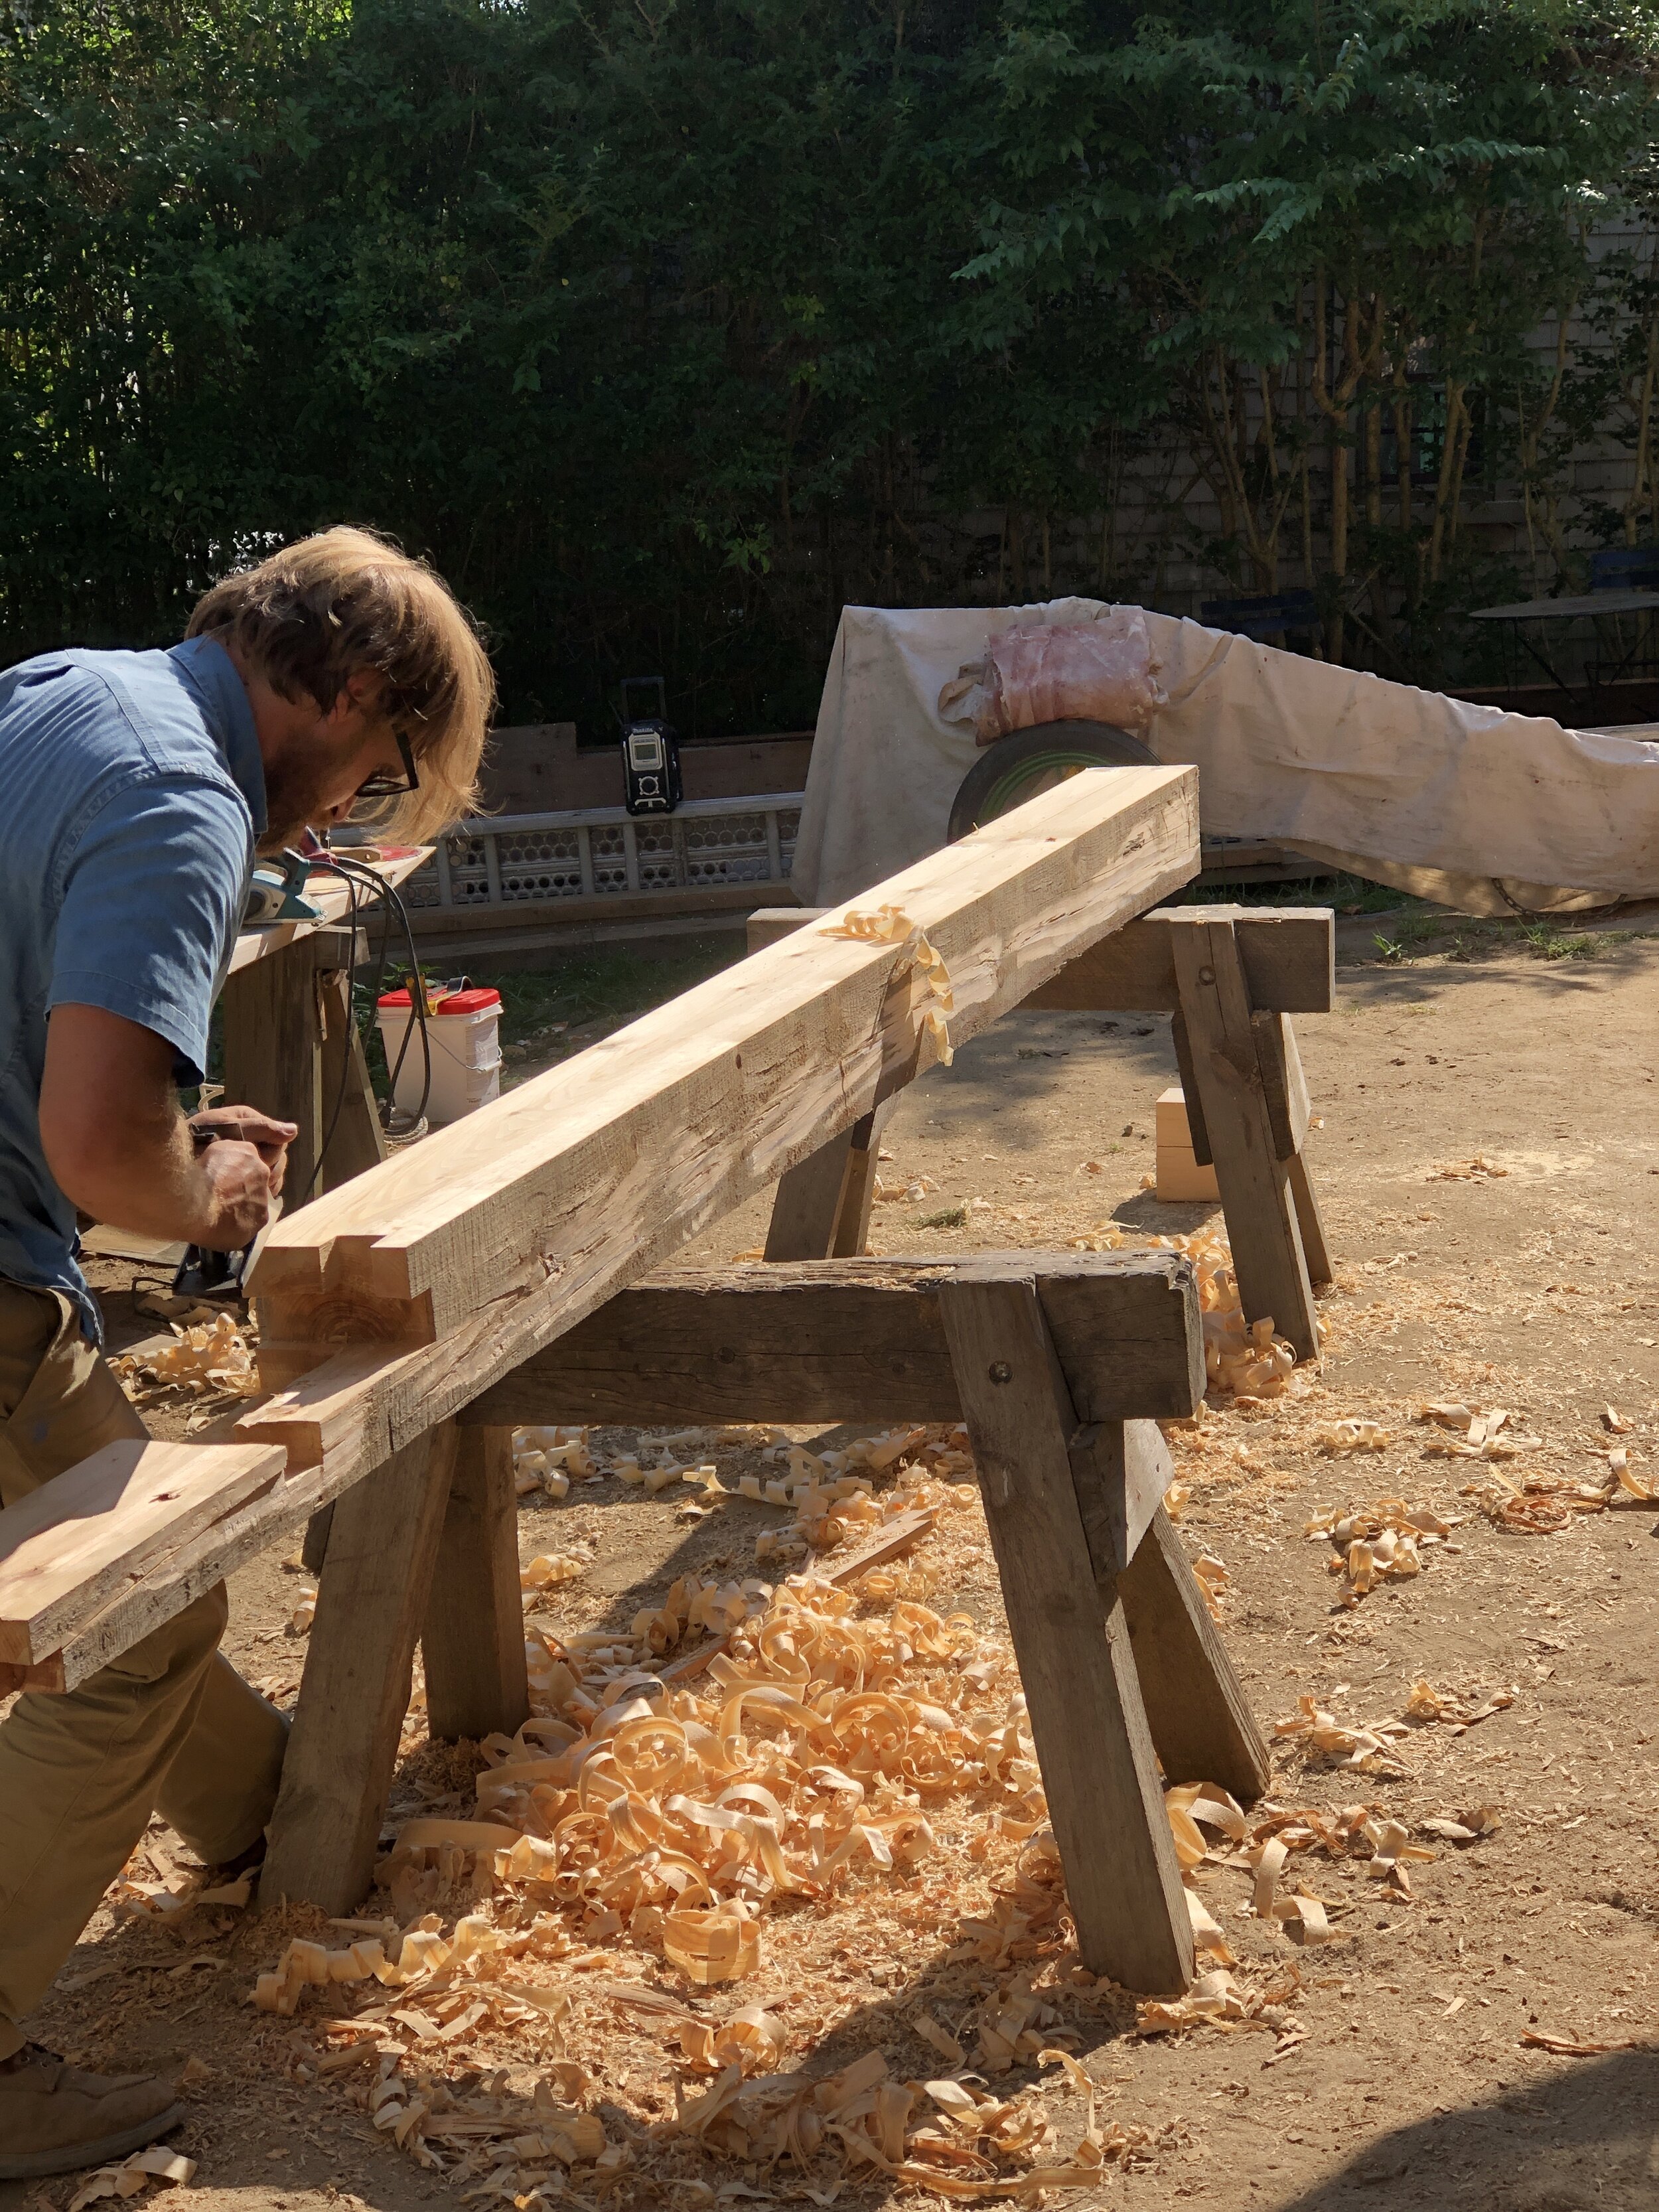
Nathaniel hand planing the front left corner post.
We tackled the rear 3rd floor sill replacement 1st, then worked down to the second floor girt (like a girdle, holding the floor joists in place around the 2nd floor) replacing only the ends that connected to the rear corner post which was a complete replacement.
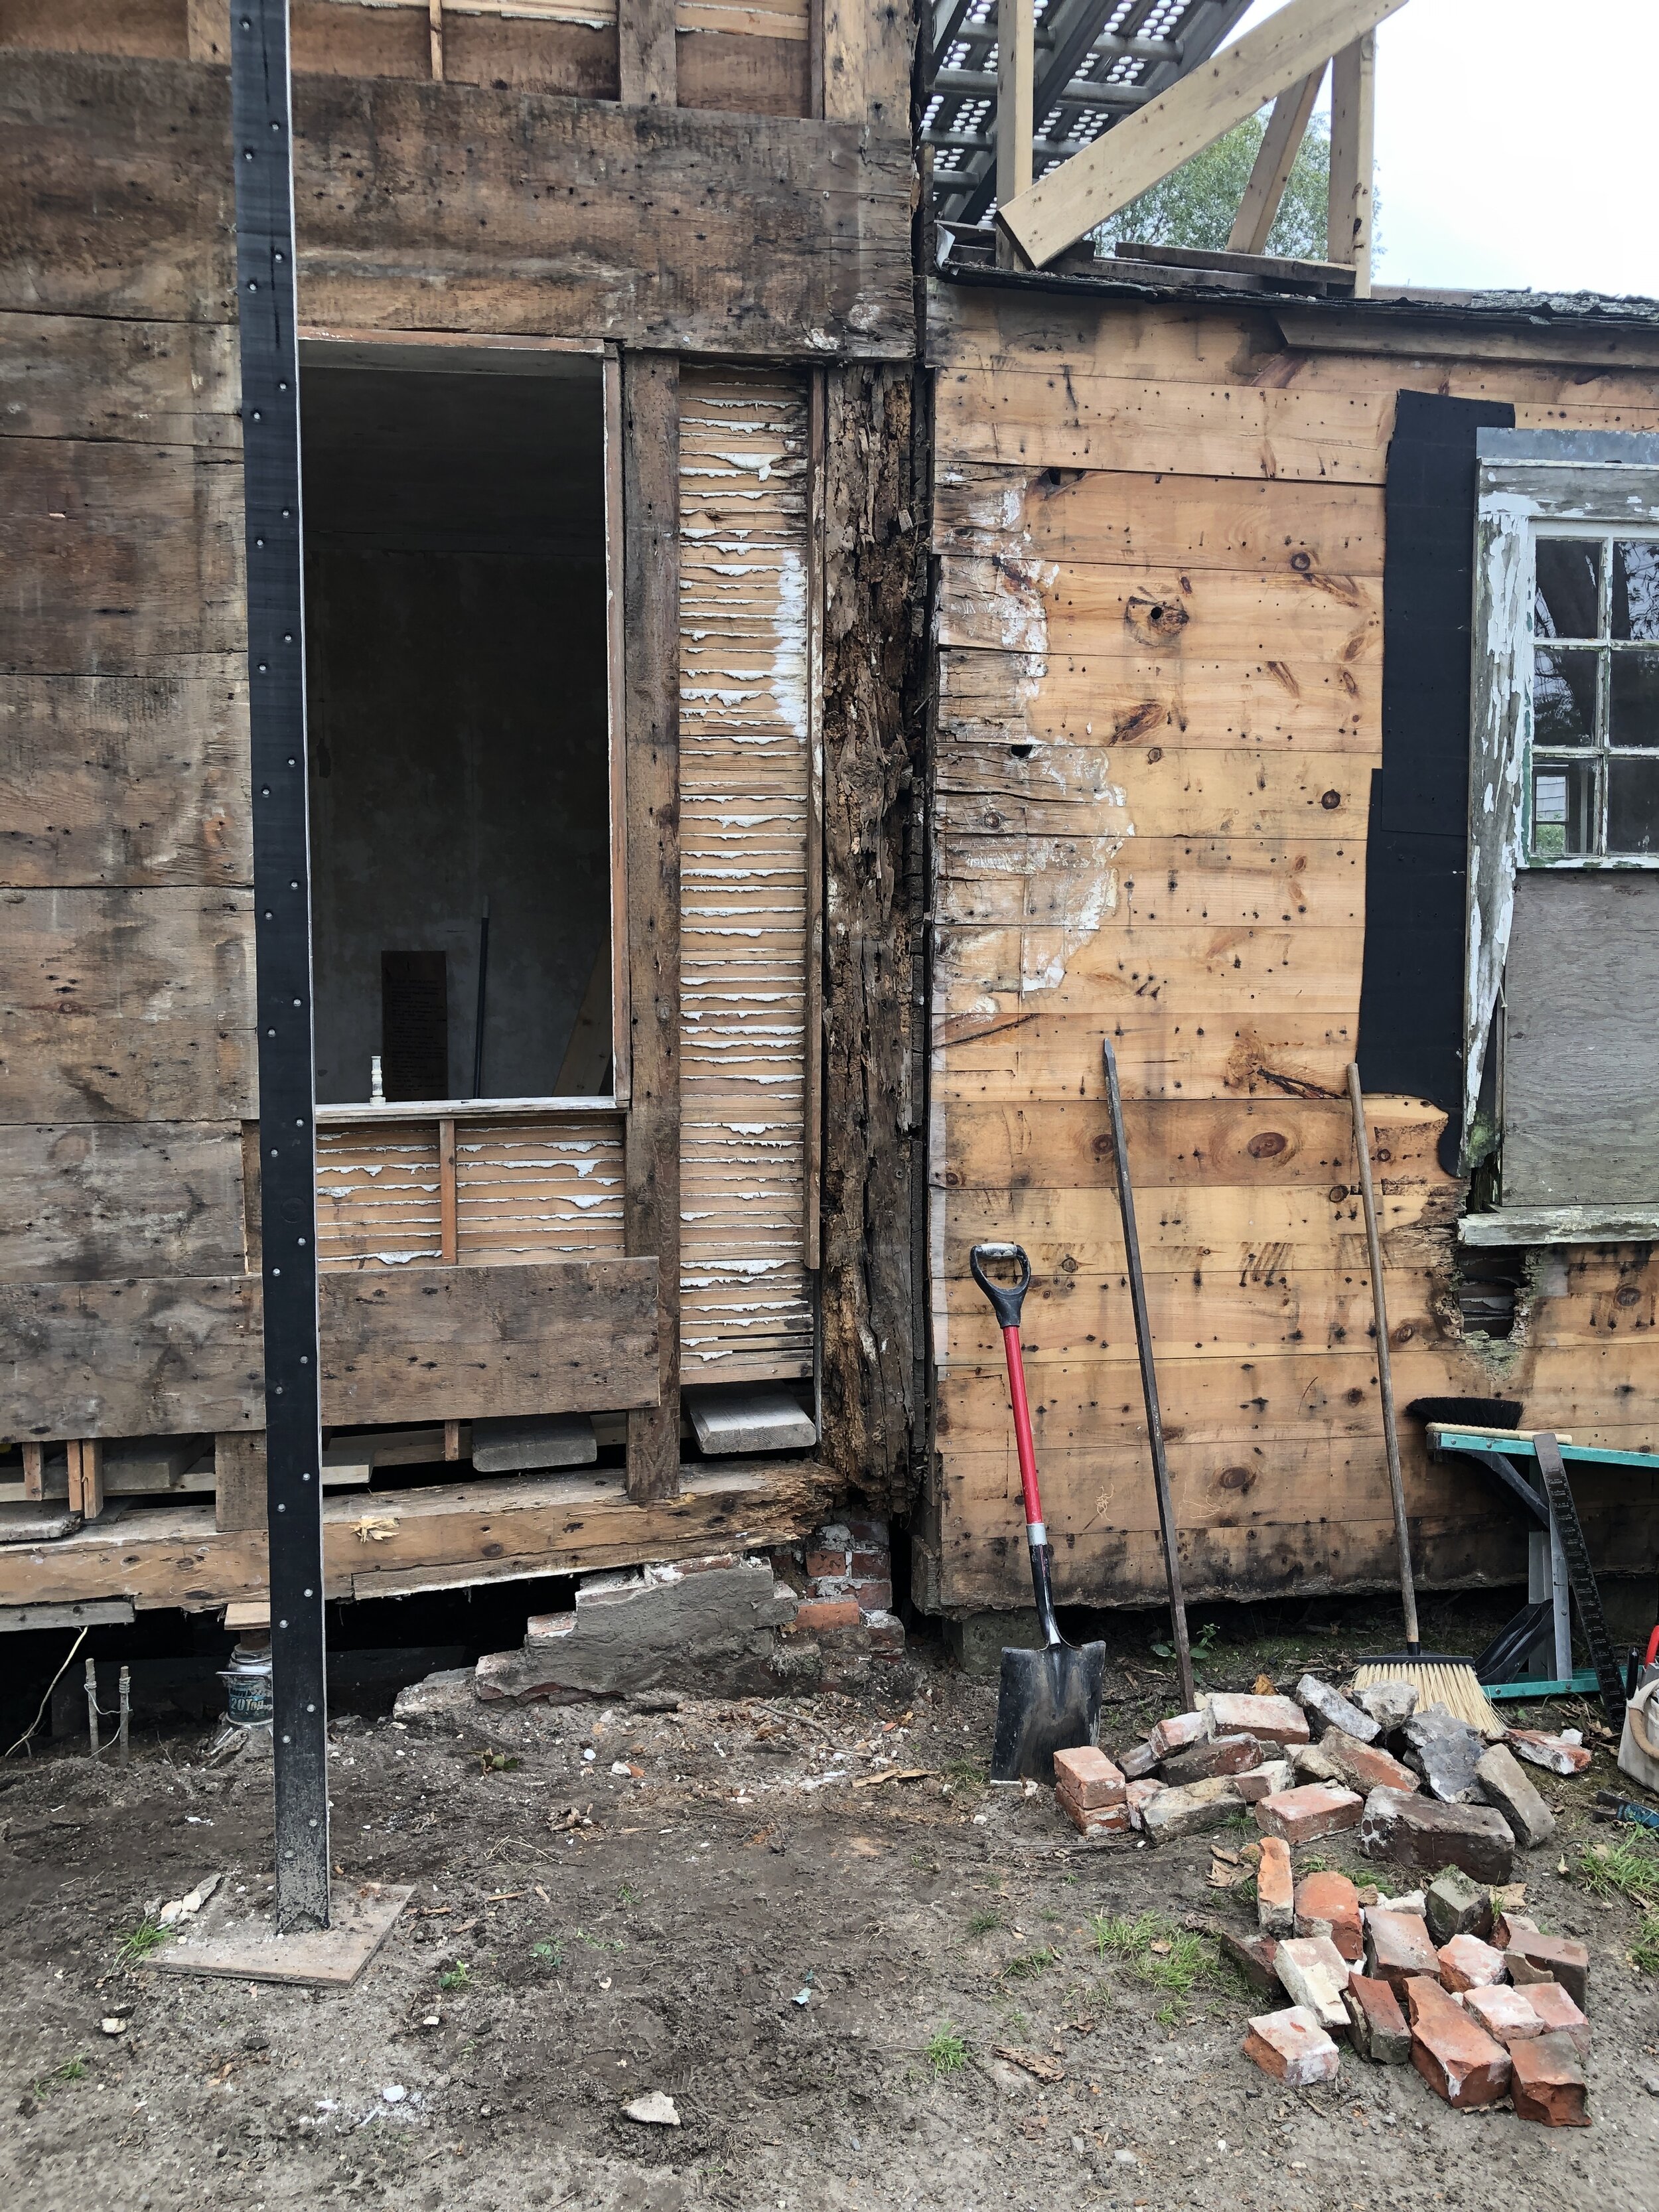
Moving on to the front left corner (below) which was the most visibly deteriorated from the street, it needed only a partial replacement to just above the 2nd floor girt.
For the first time in probably half a century, there is a solid connection from the ground up to the 3rd floor!
What was left of the front left post after removal.

I call this the tire saver…a giant magnet that I run over the job site multiple times a day. It keeps my neighbors happy too!
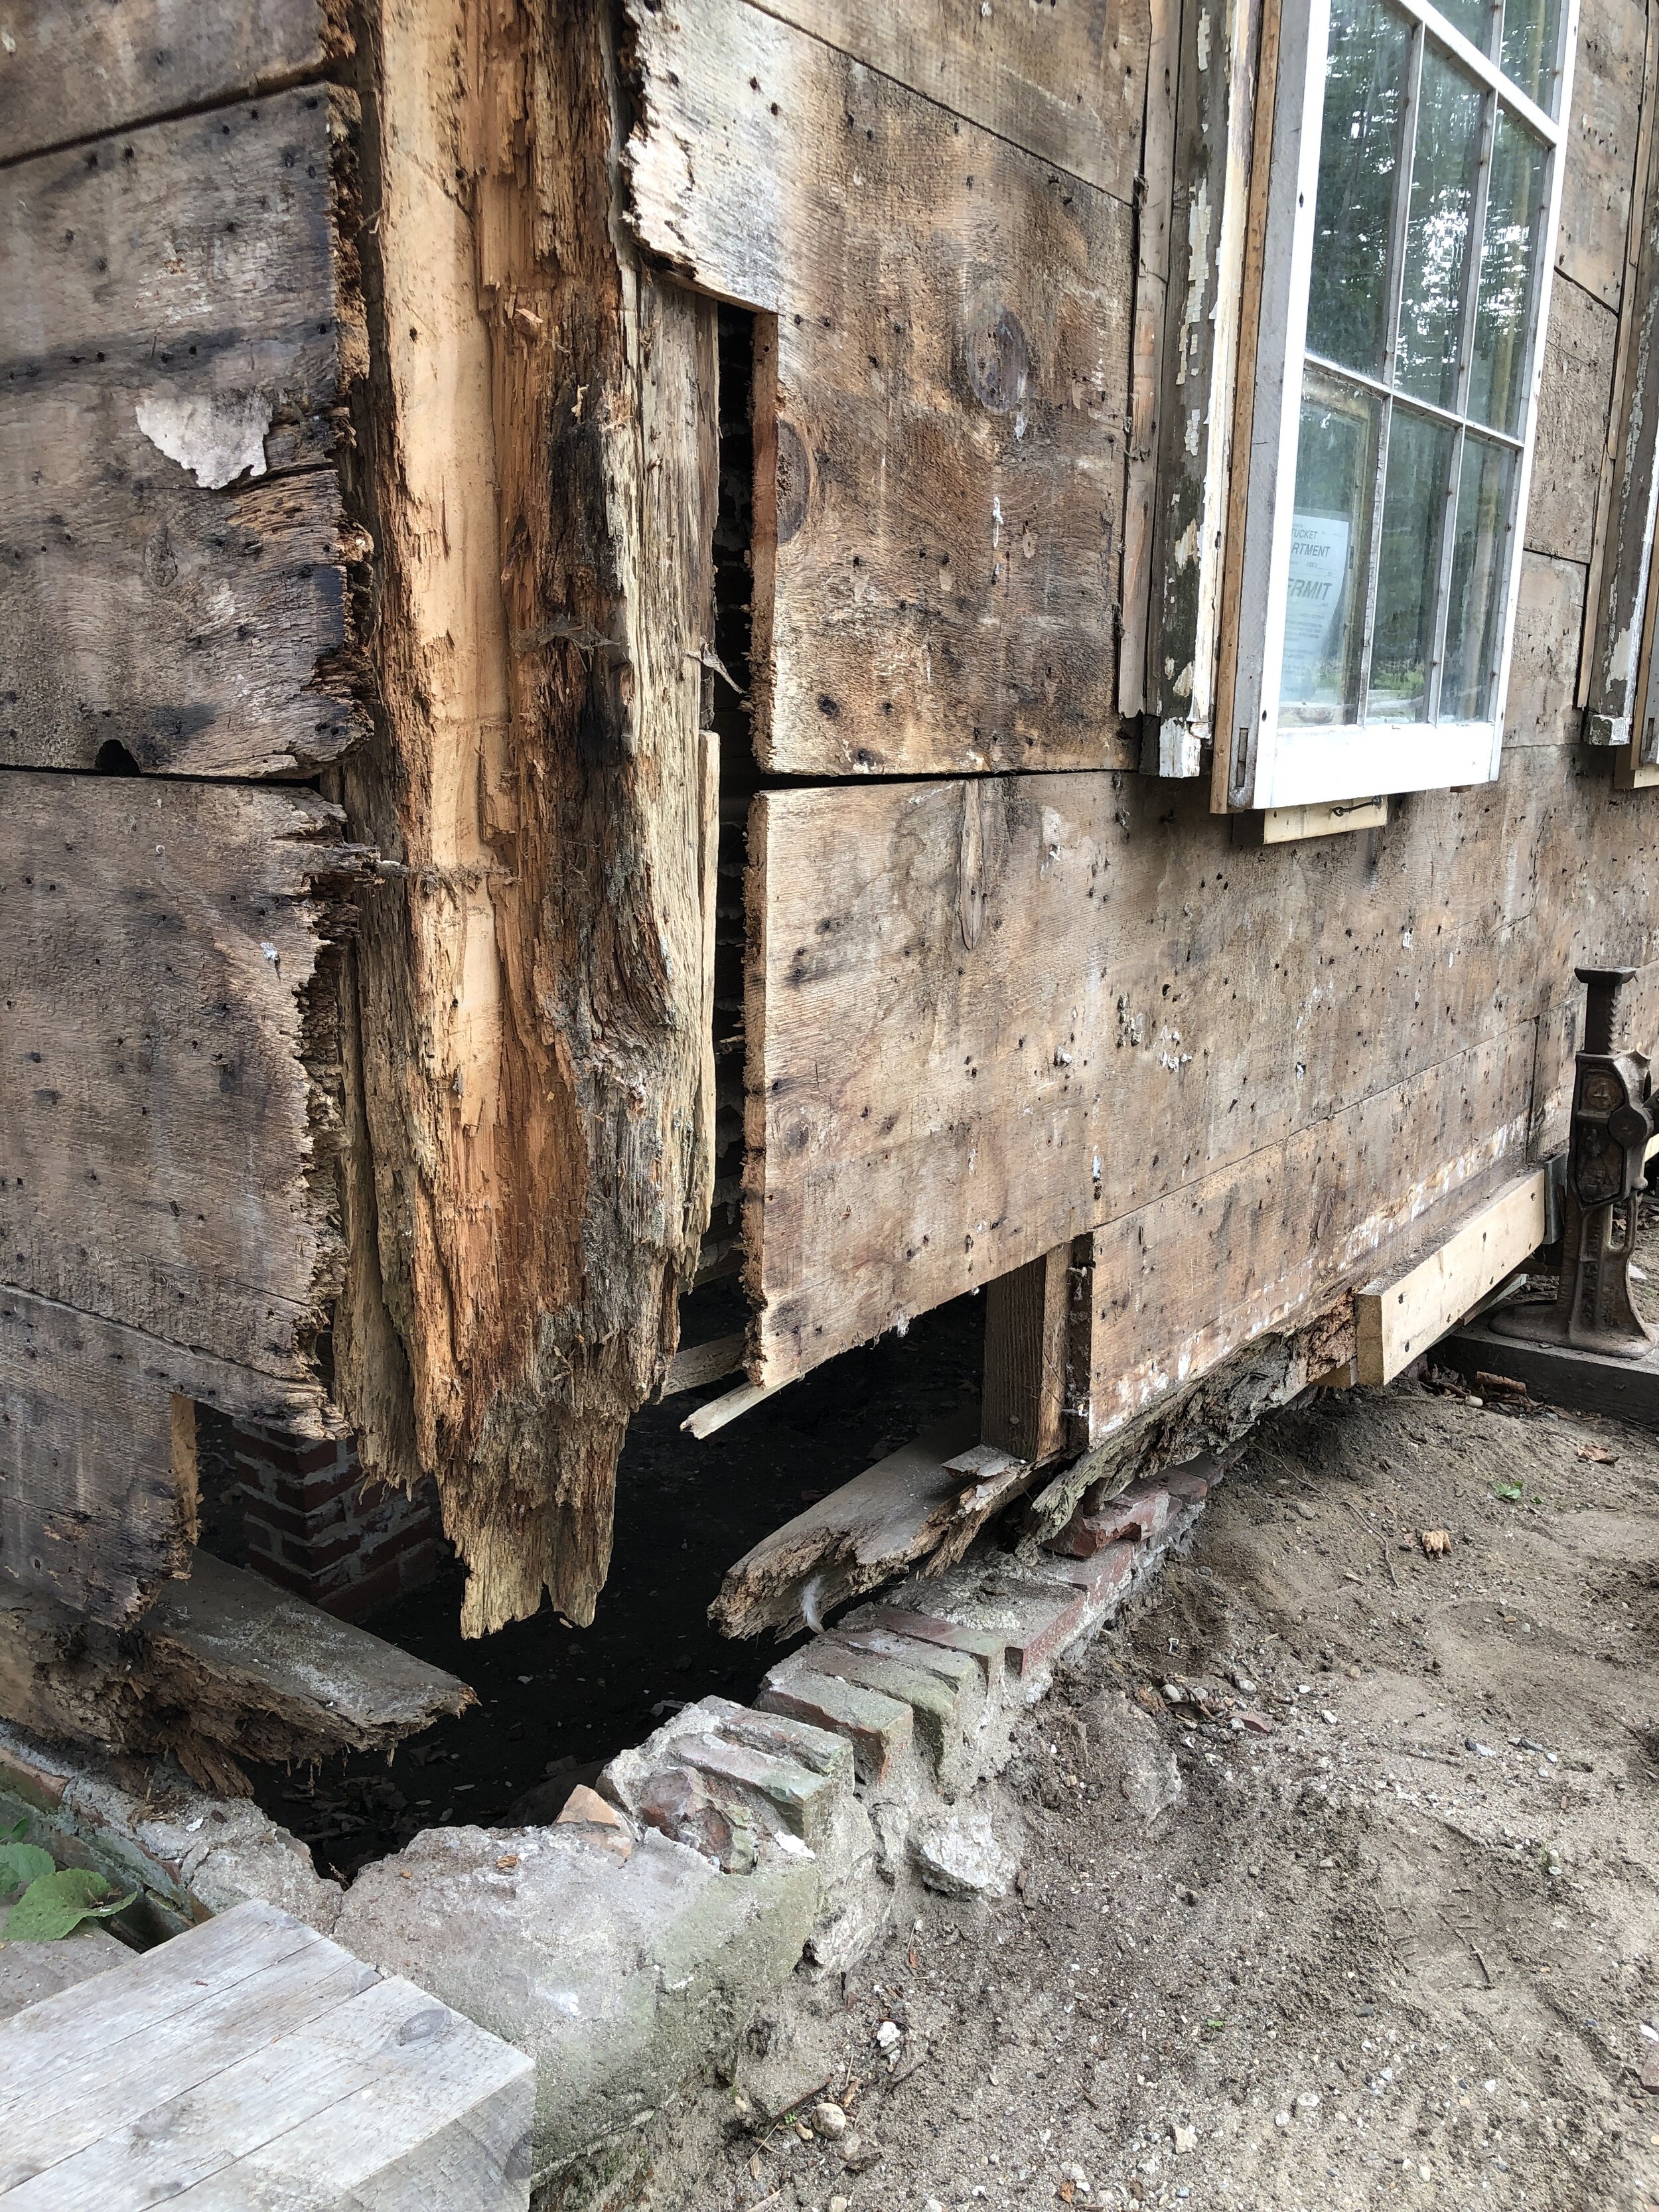
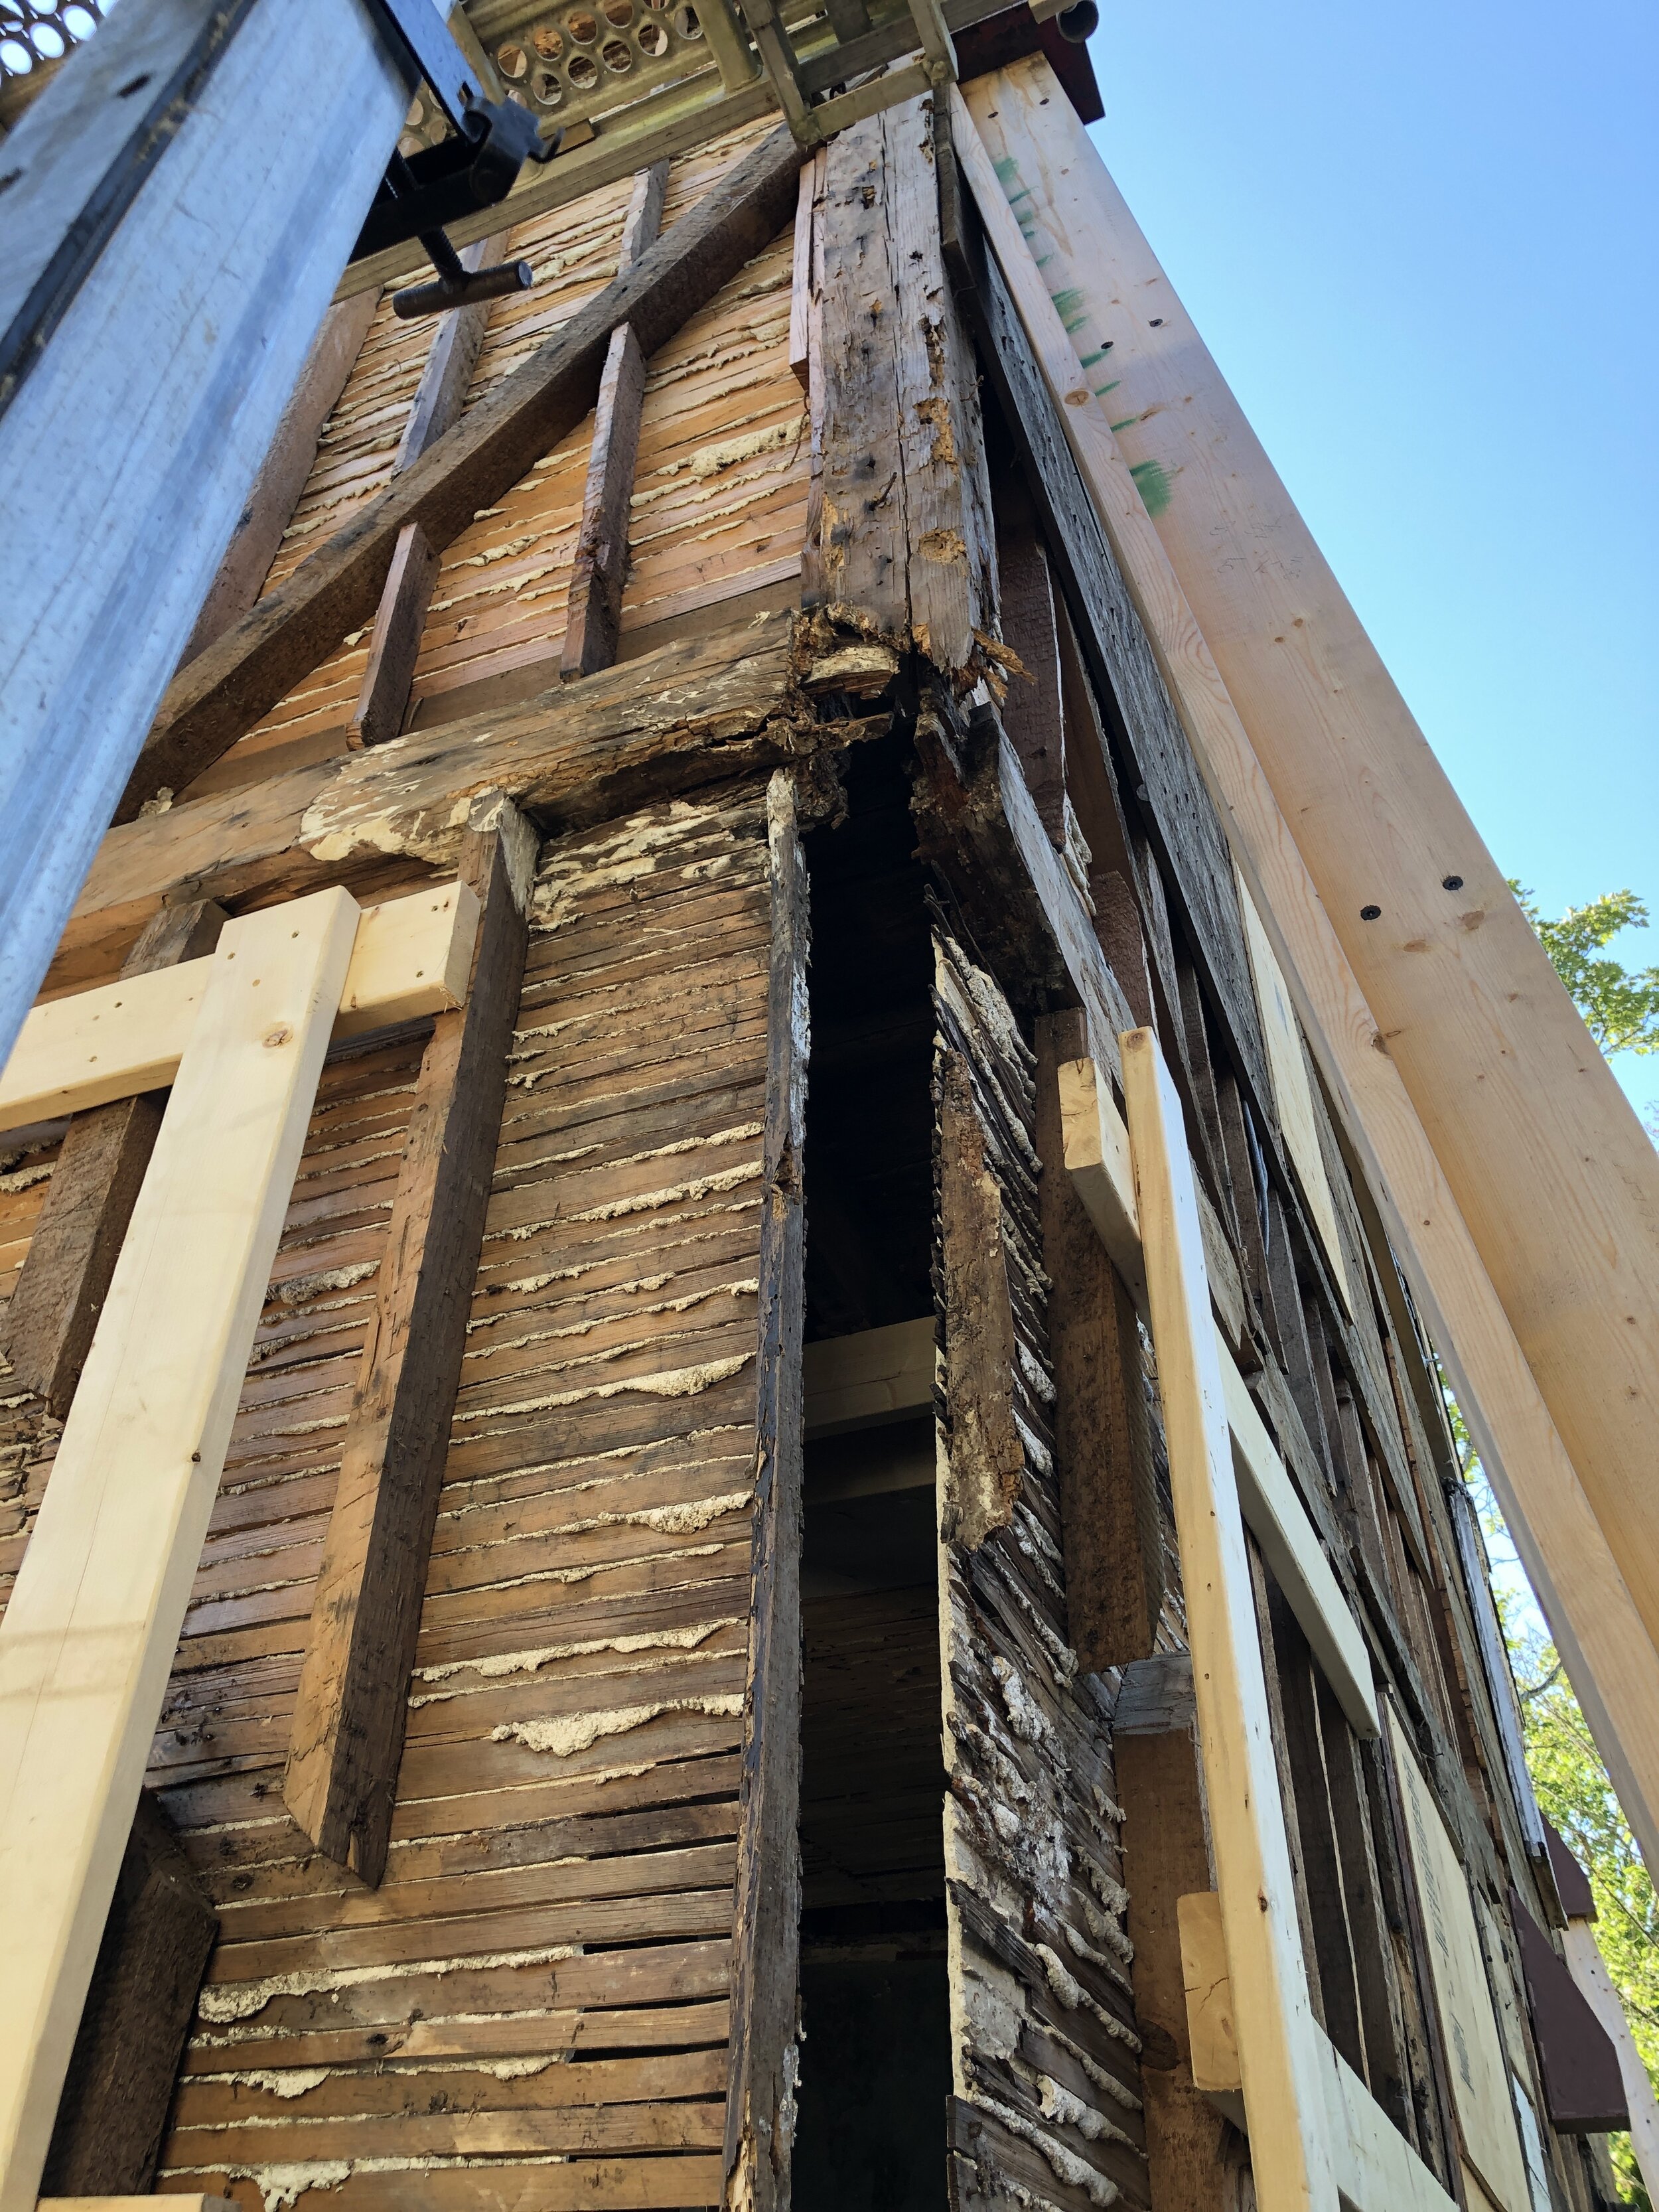
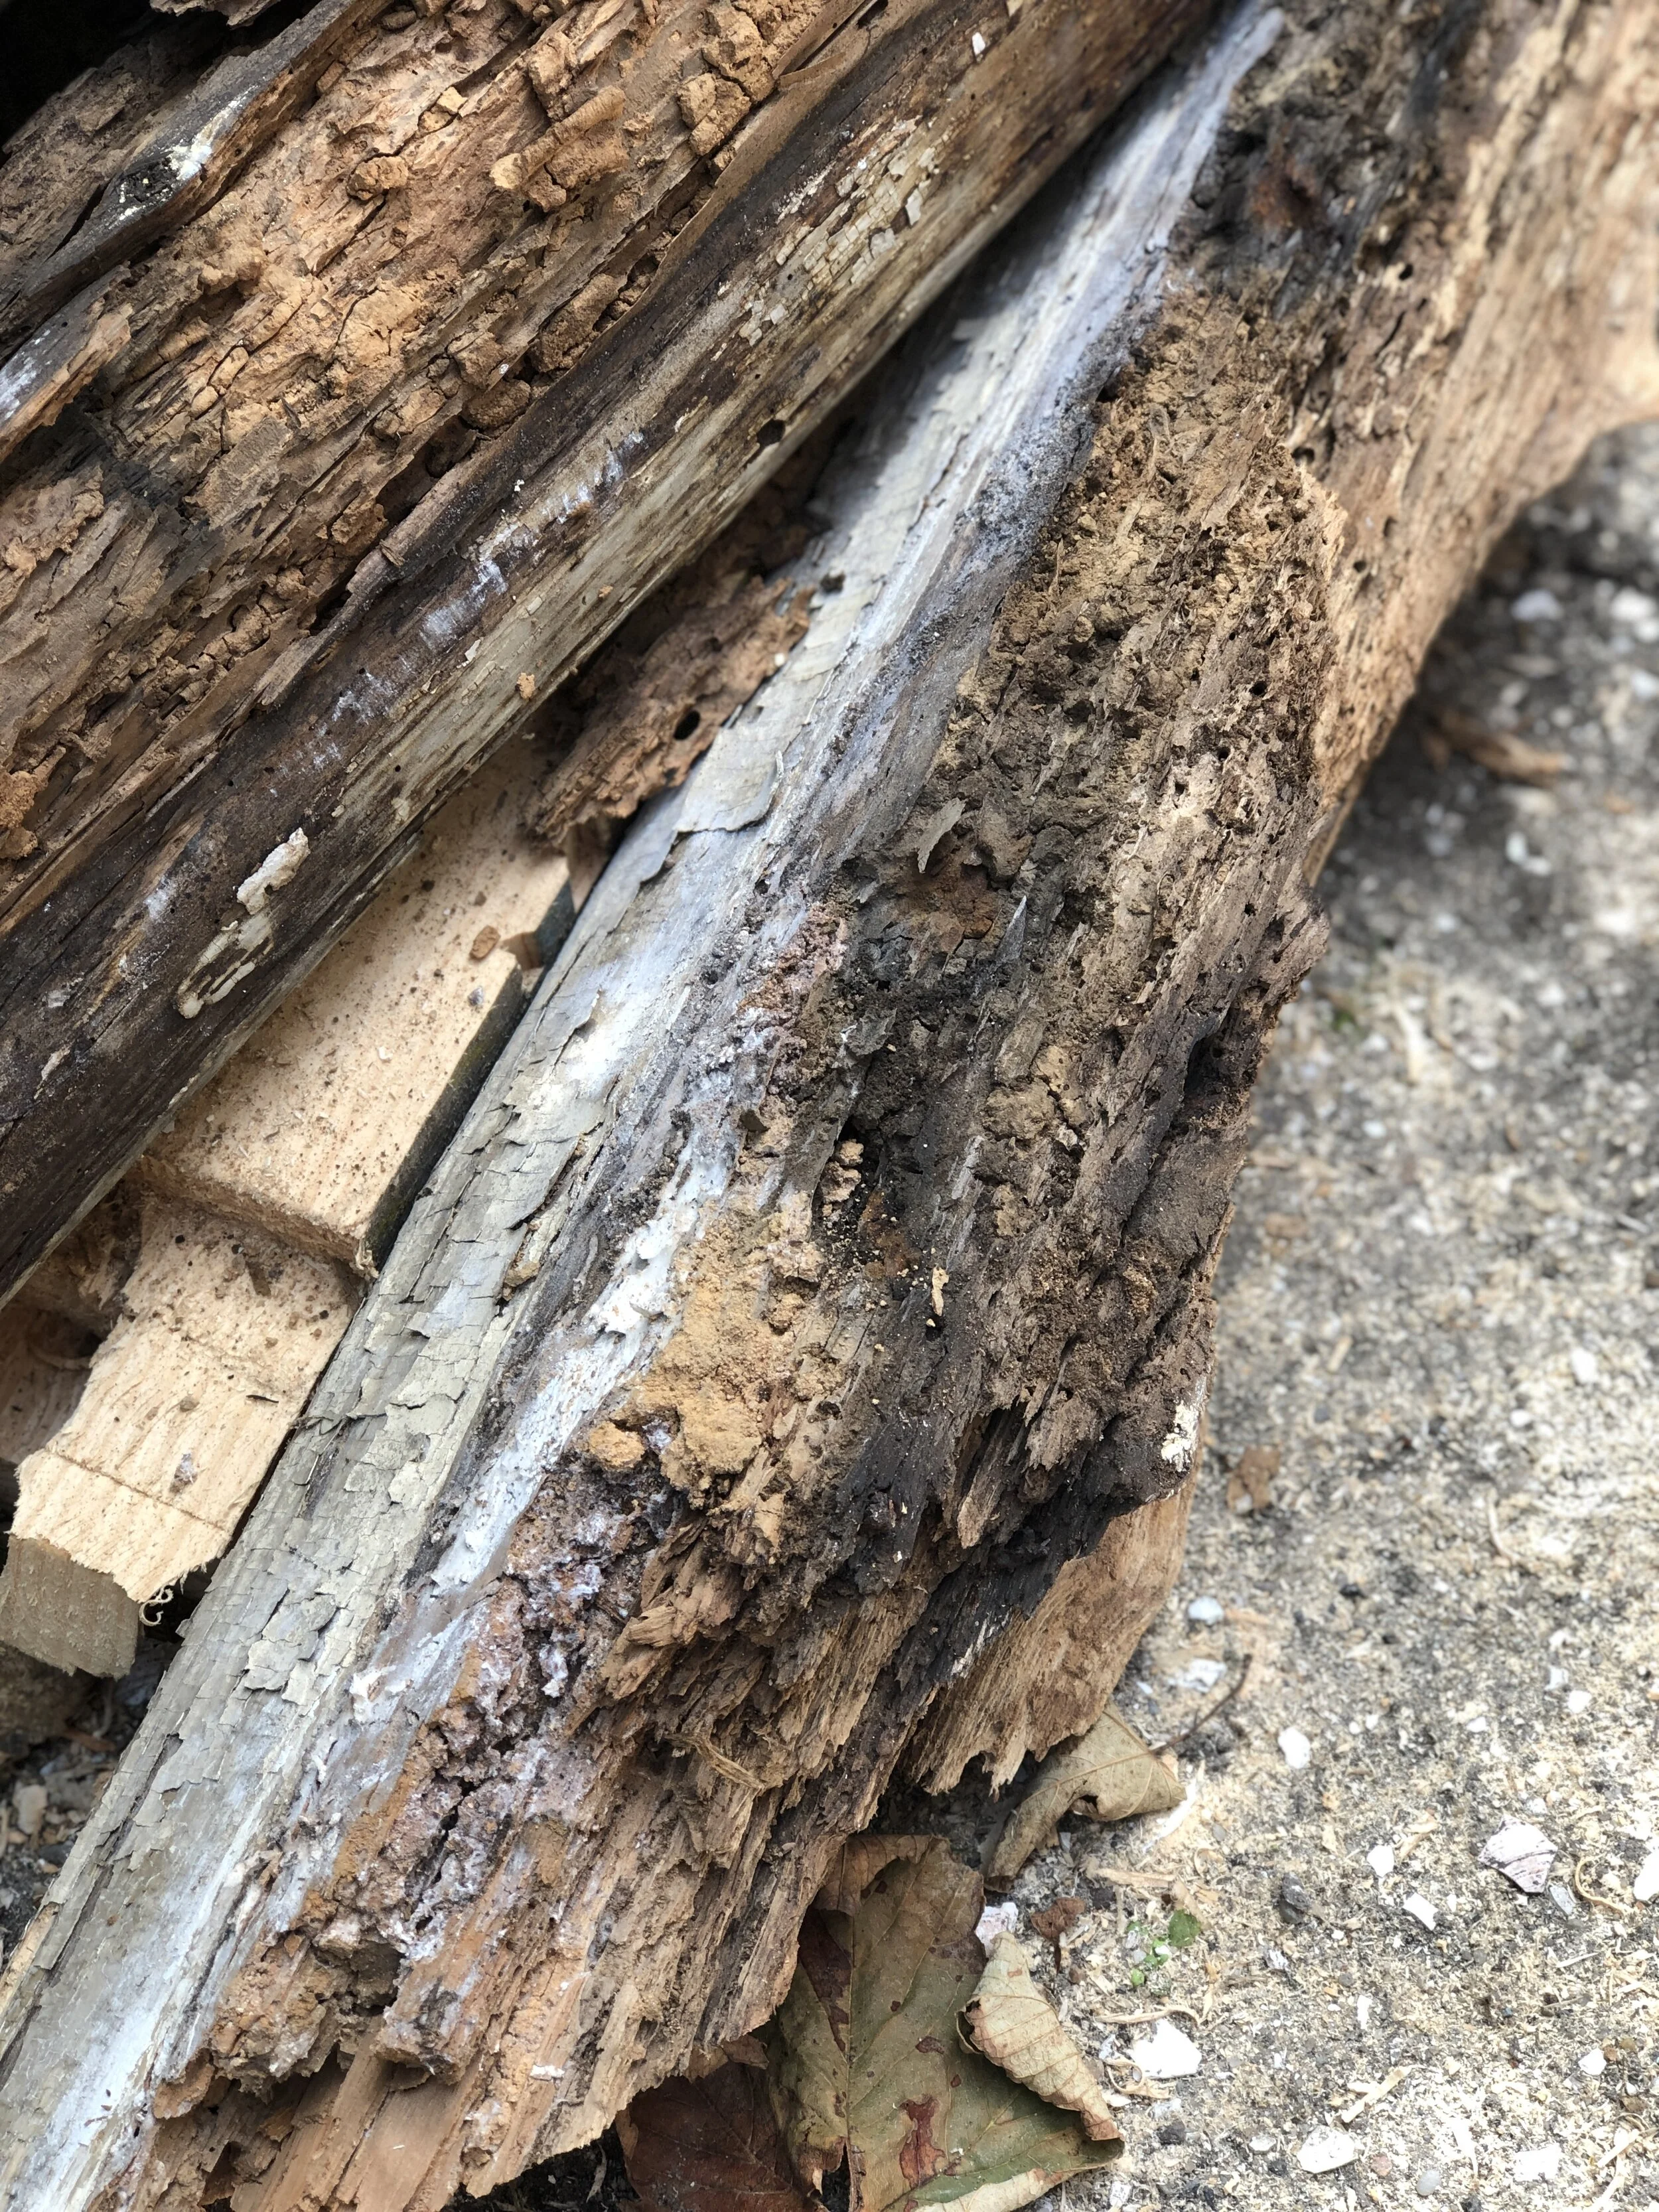
Moving right along, we found the most deteriorated post of them all on the front right side.
The water virtually destroyed the corner post. So much so, that the only thing holding up the house was the plaster and lath.

Hand hewn marks on the exterior of the 2nd floor girt. This is looking up from inside the front right addition.

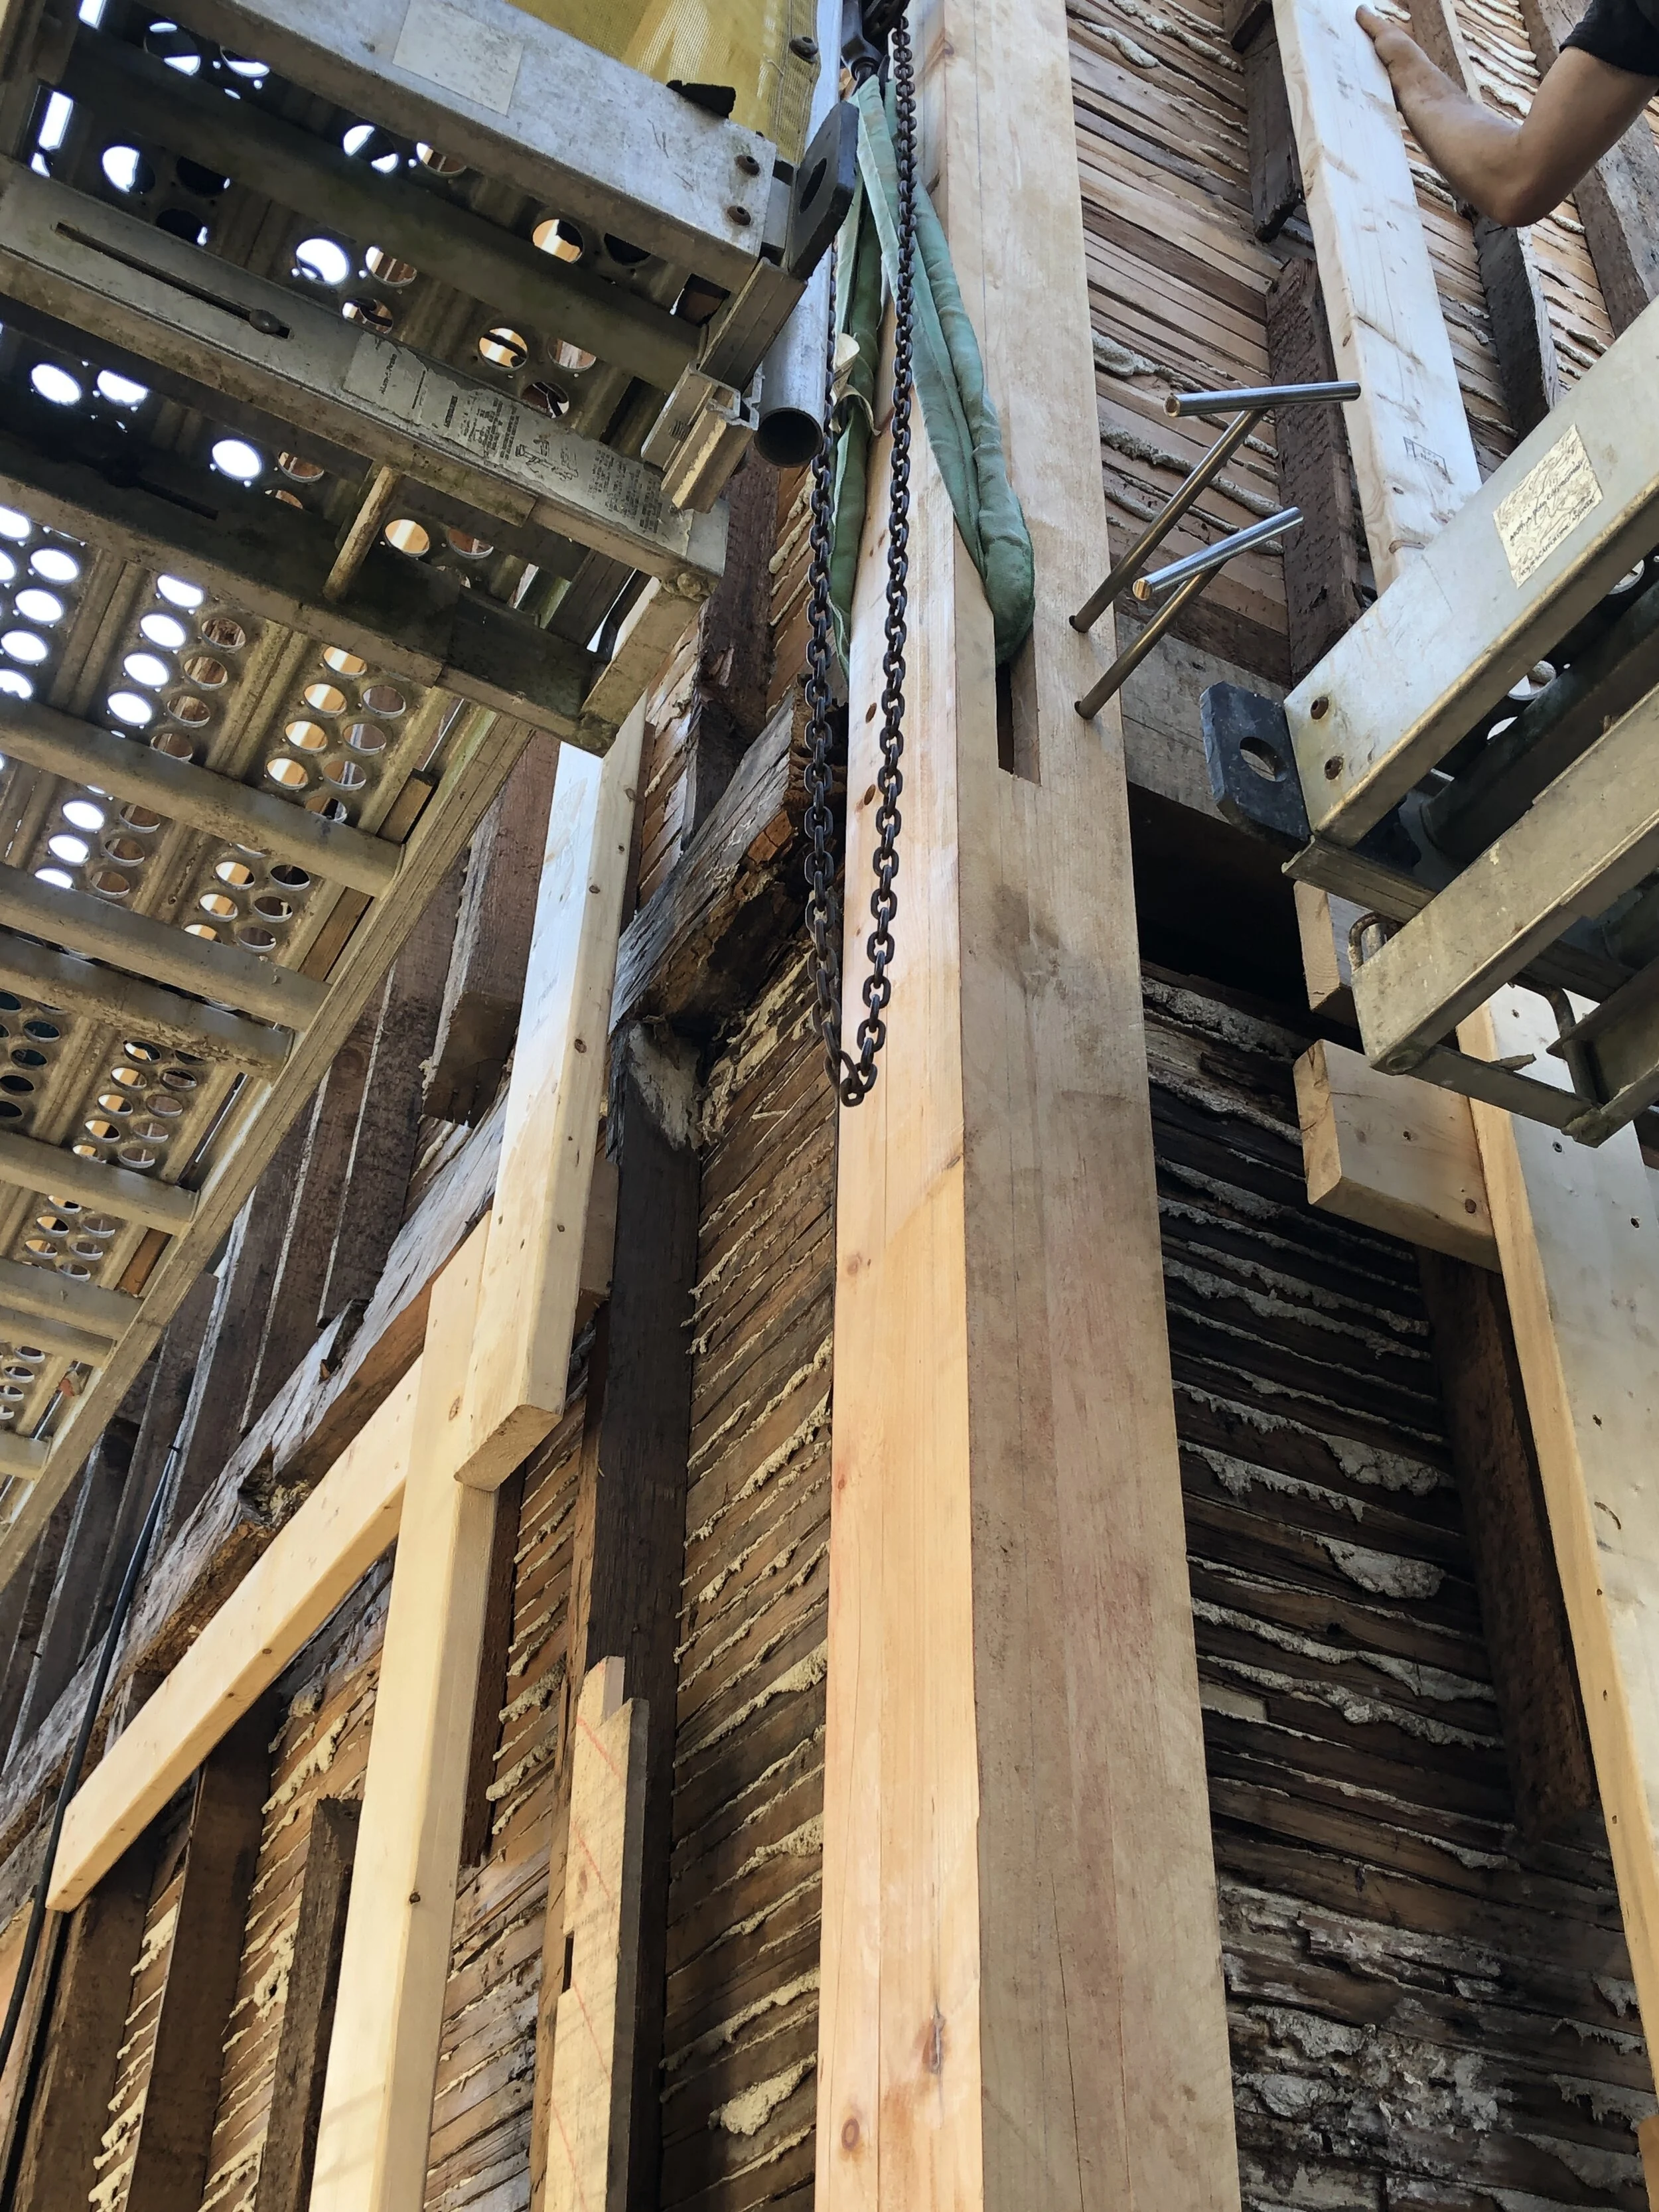
Nathaniel cutting sections out of the front right corner post. This is from the inside looking out on the second floor landing.

New post is almost in!
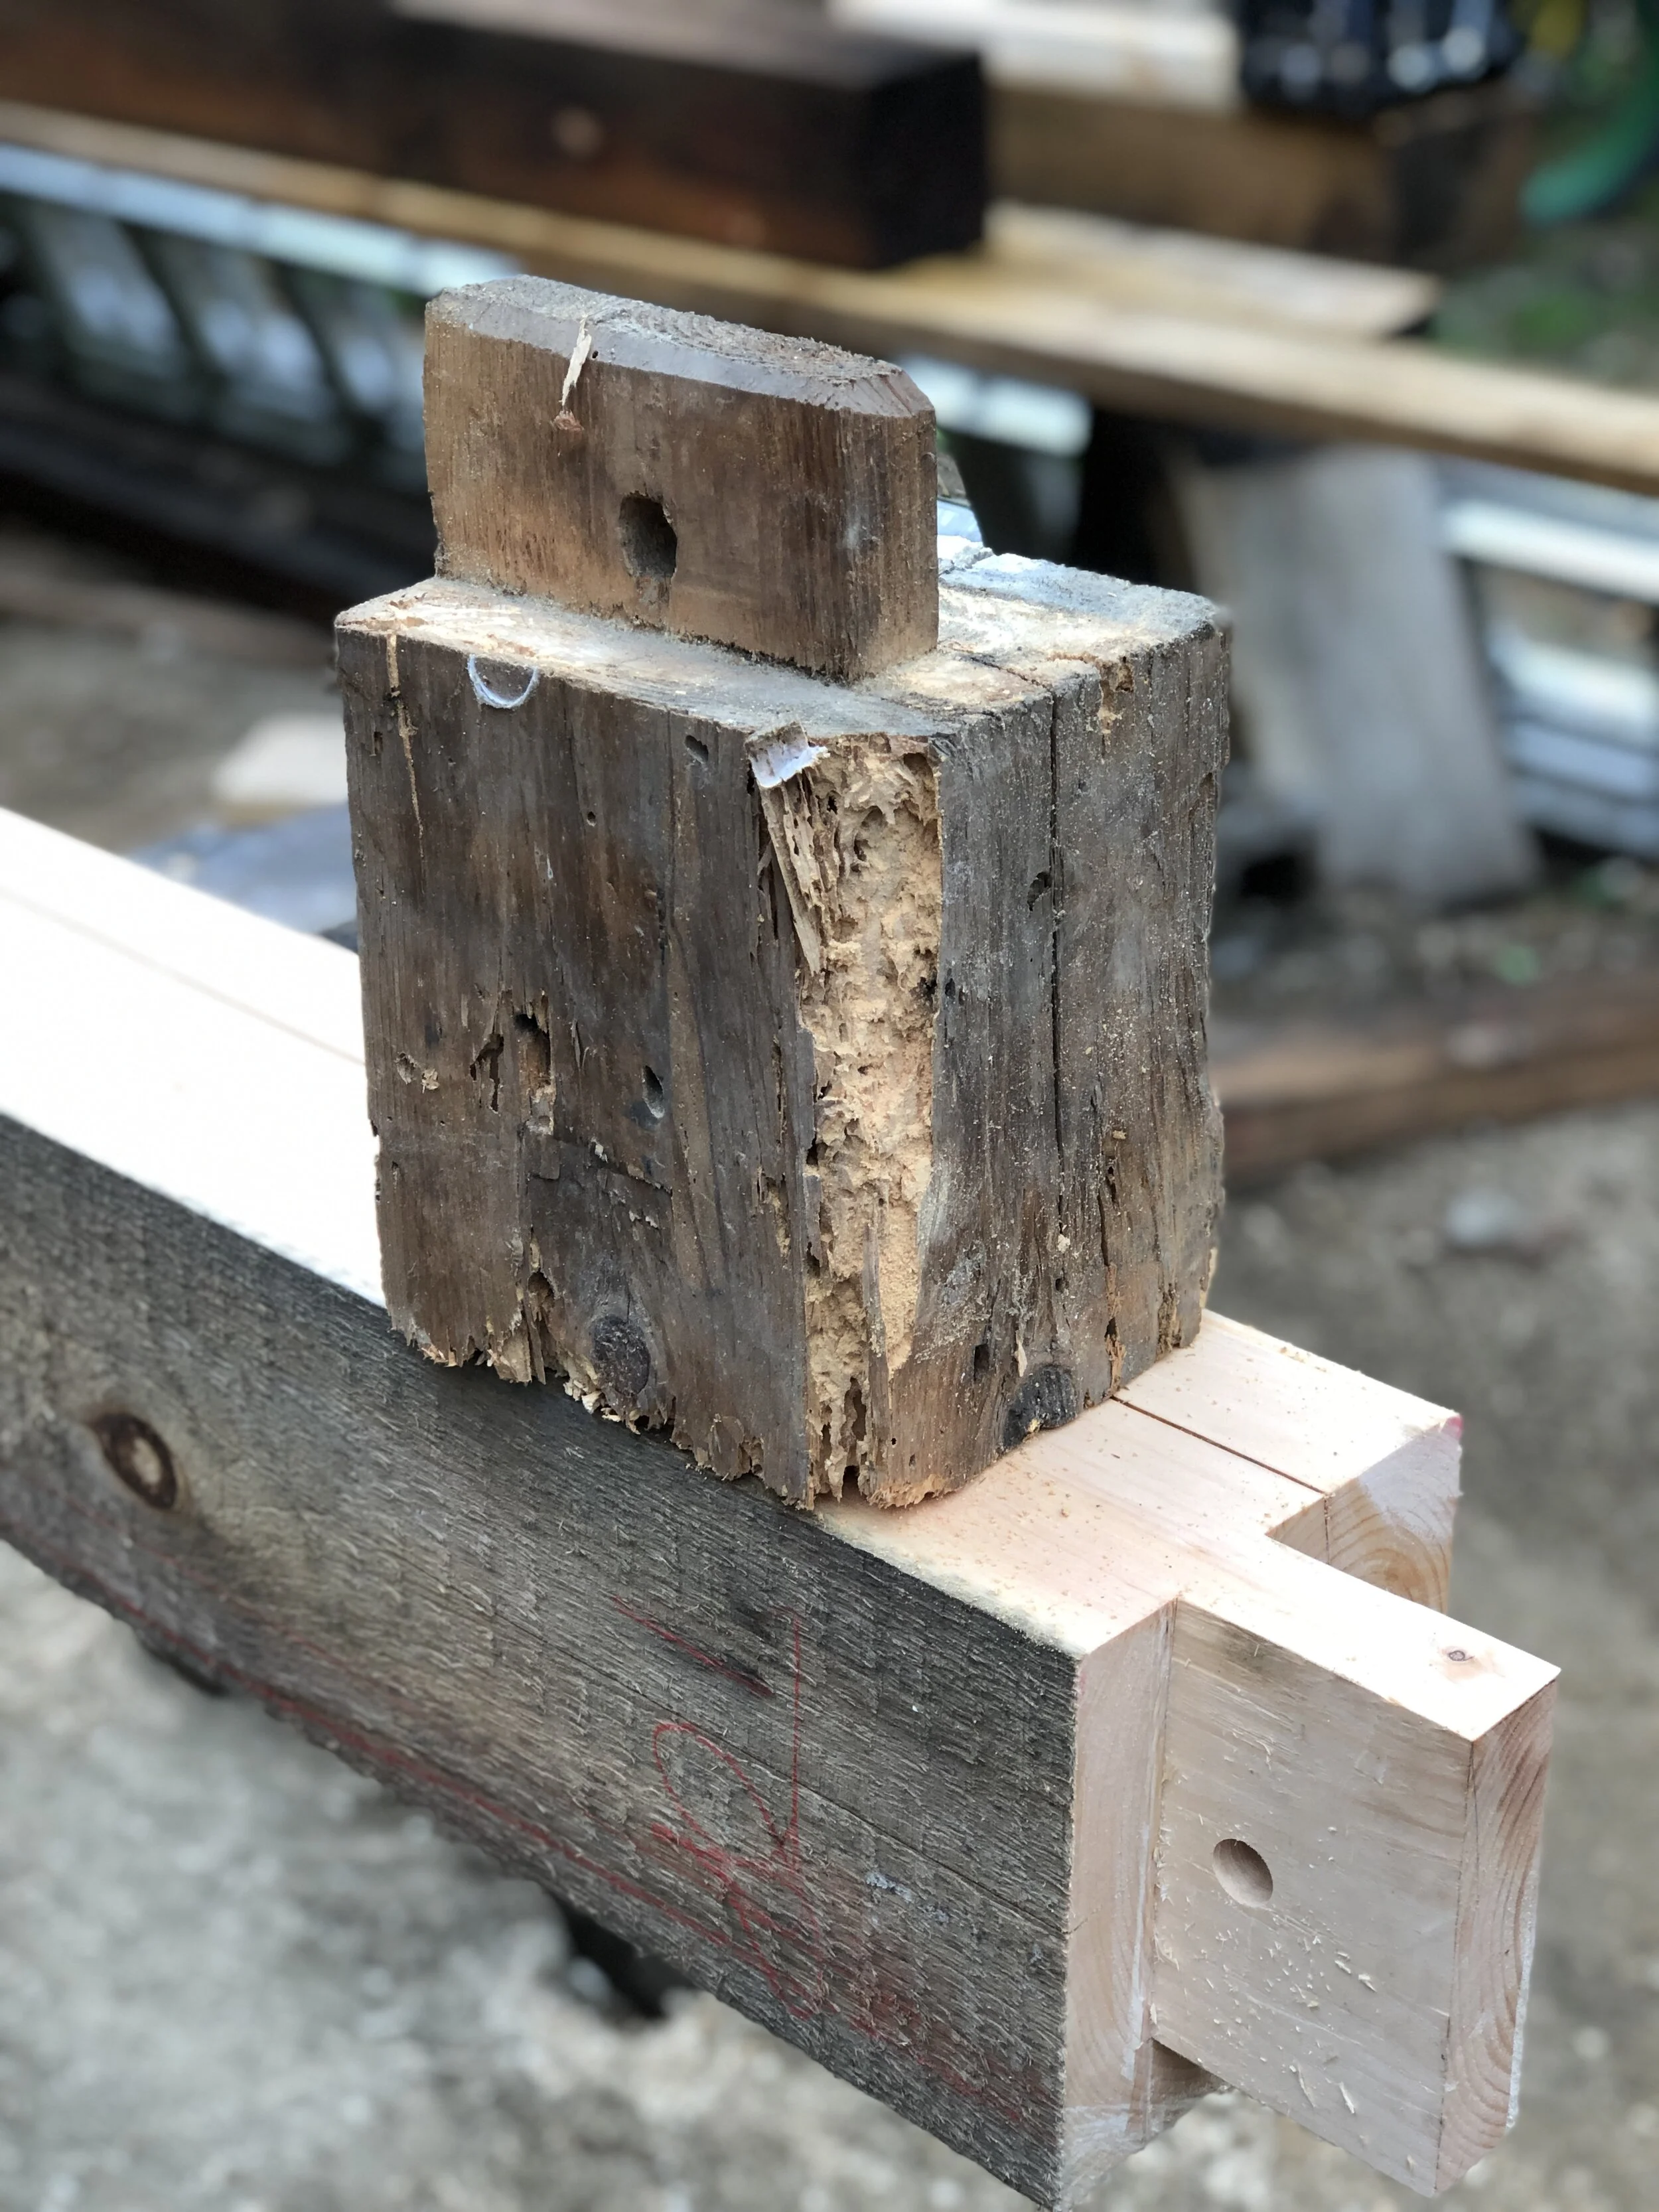
Old vs New
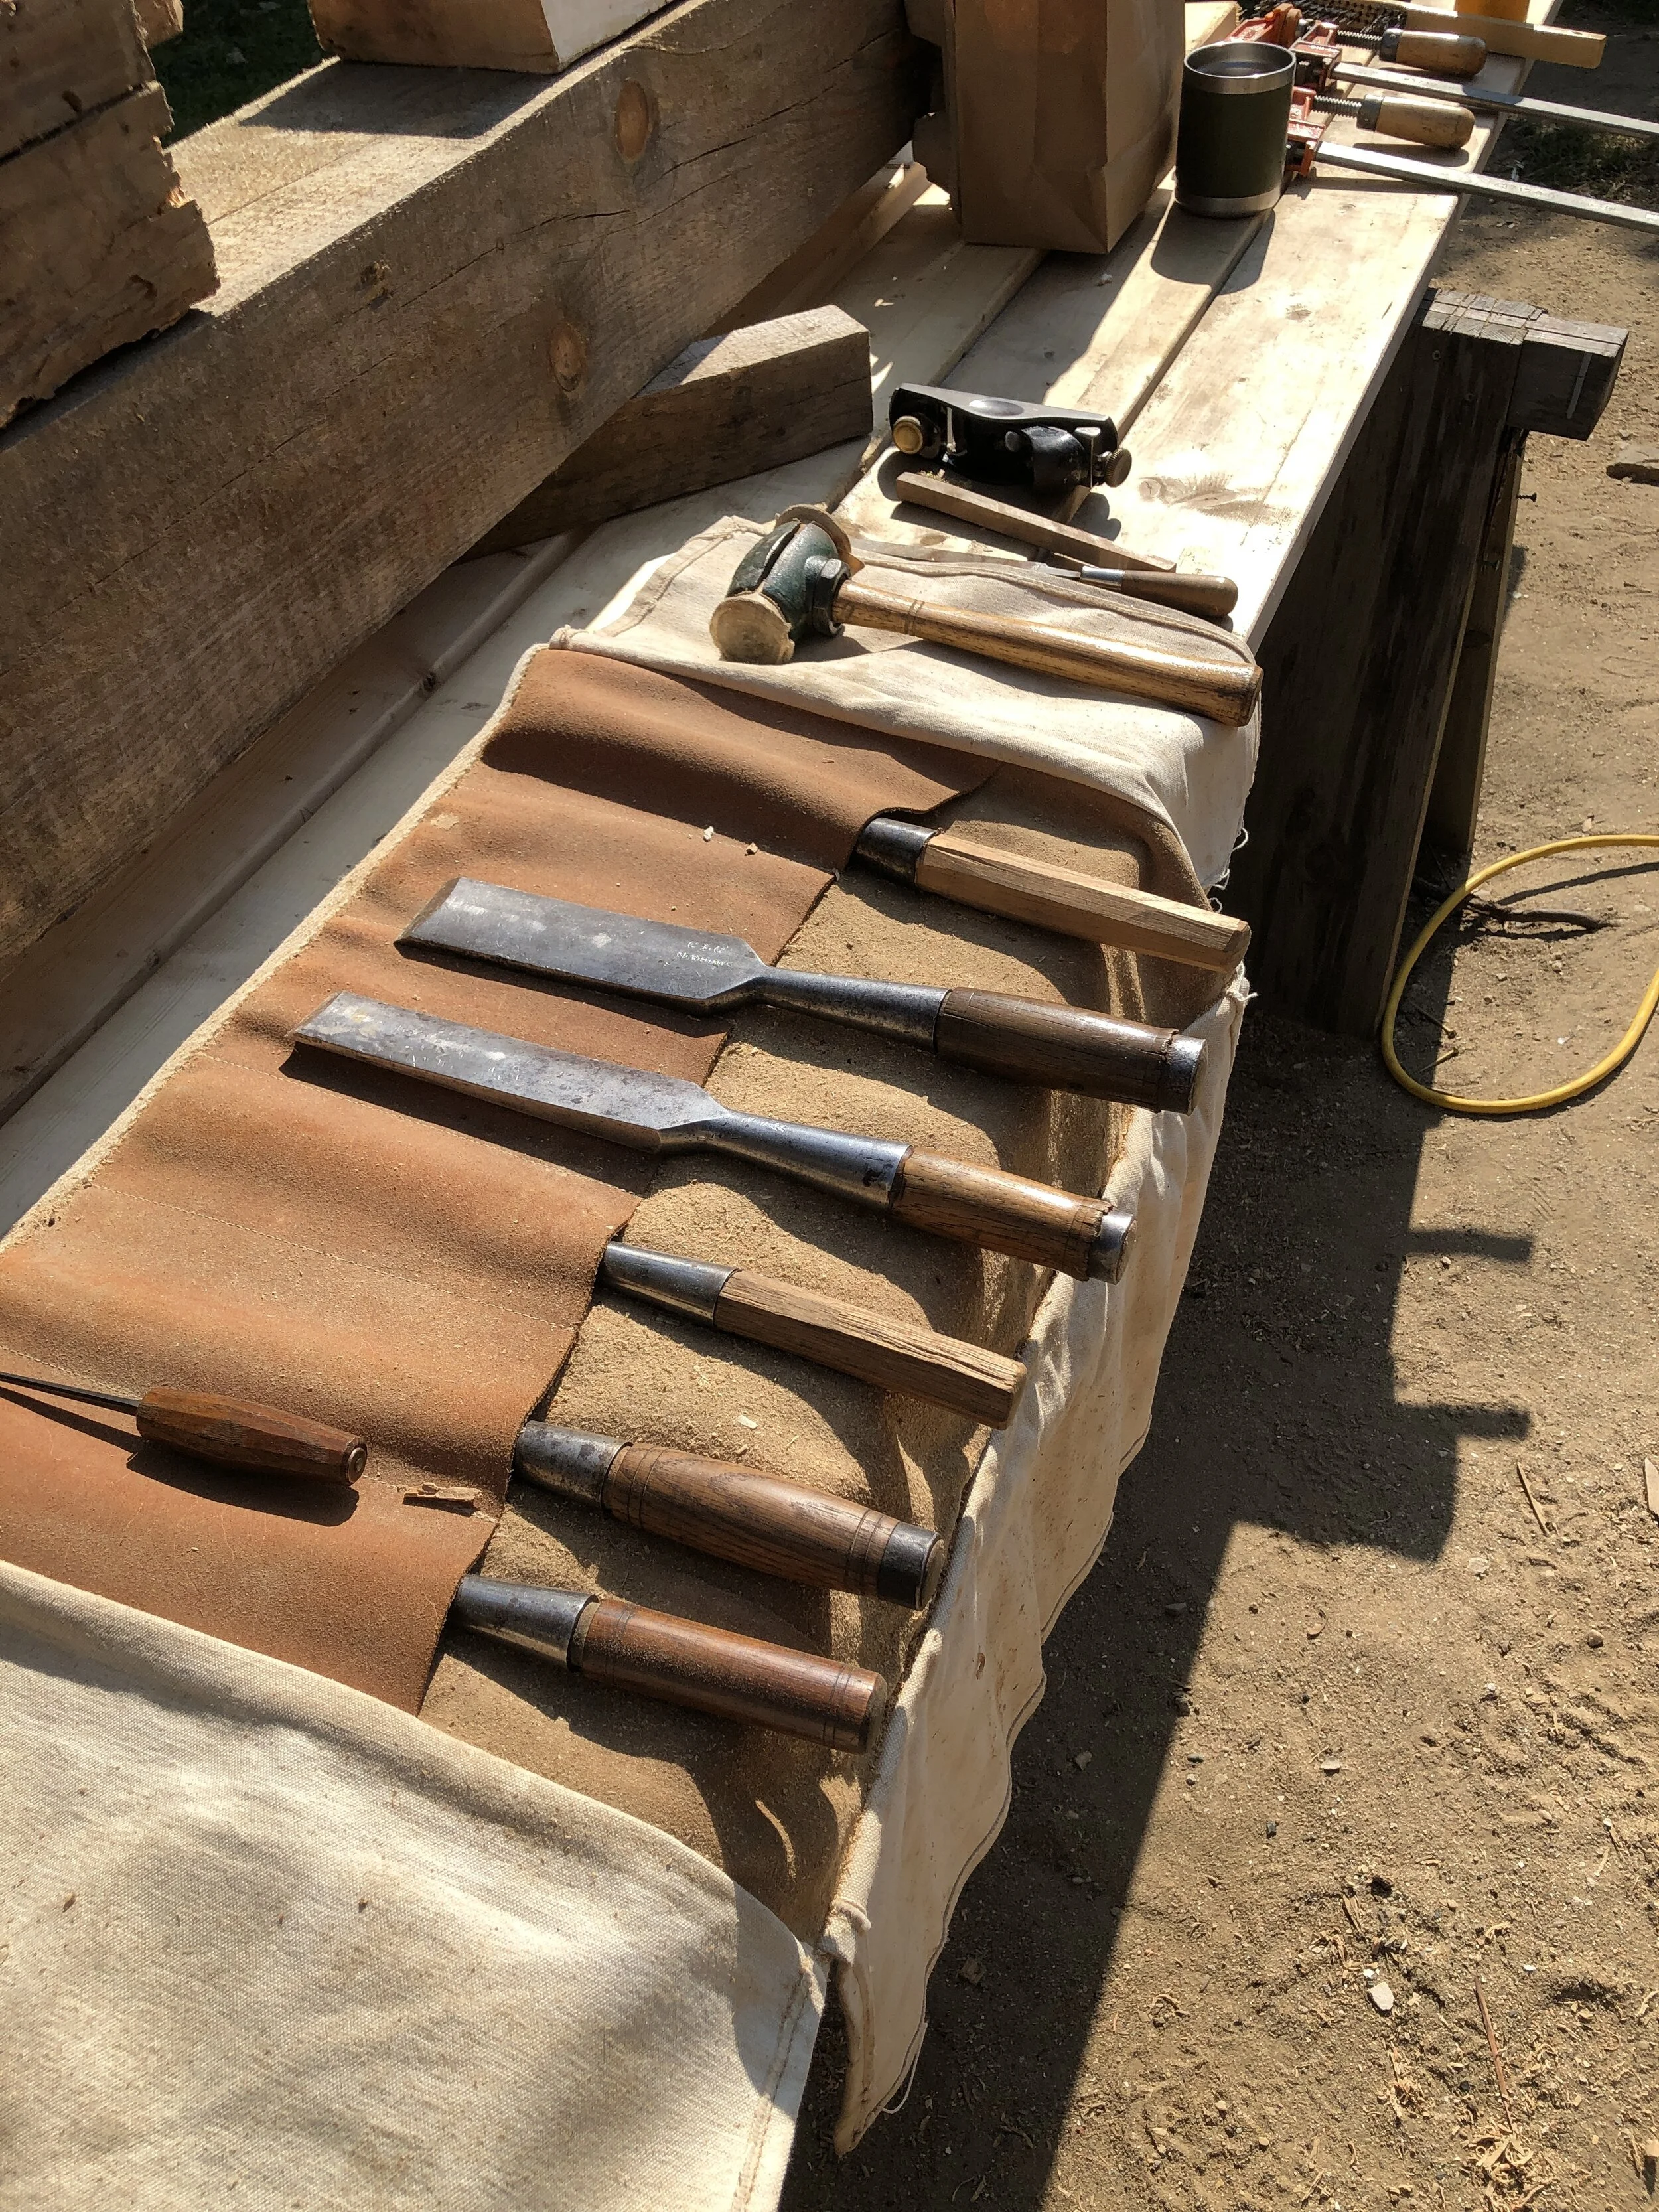
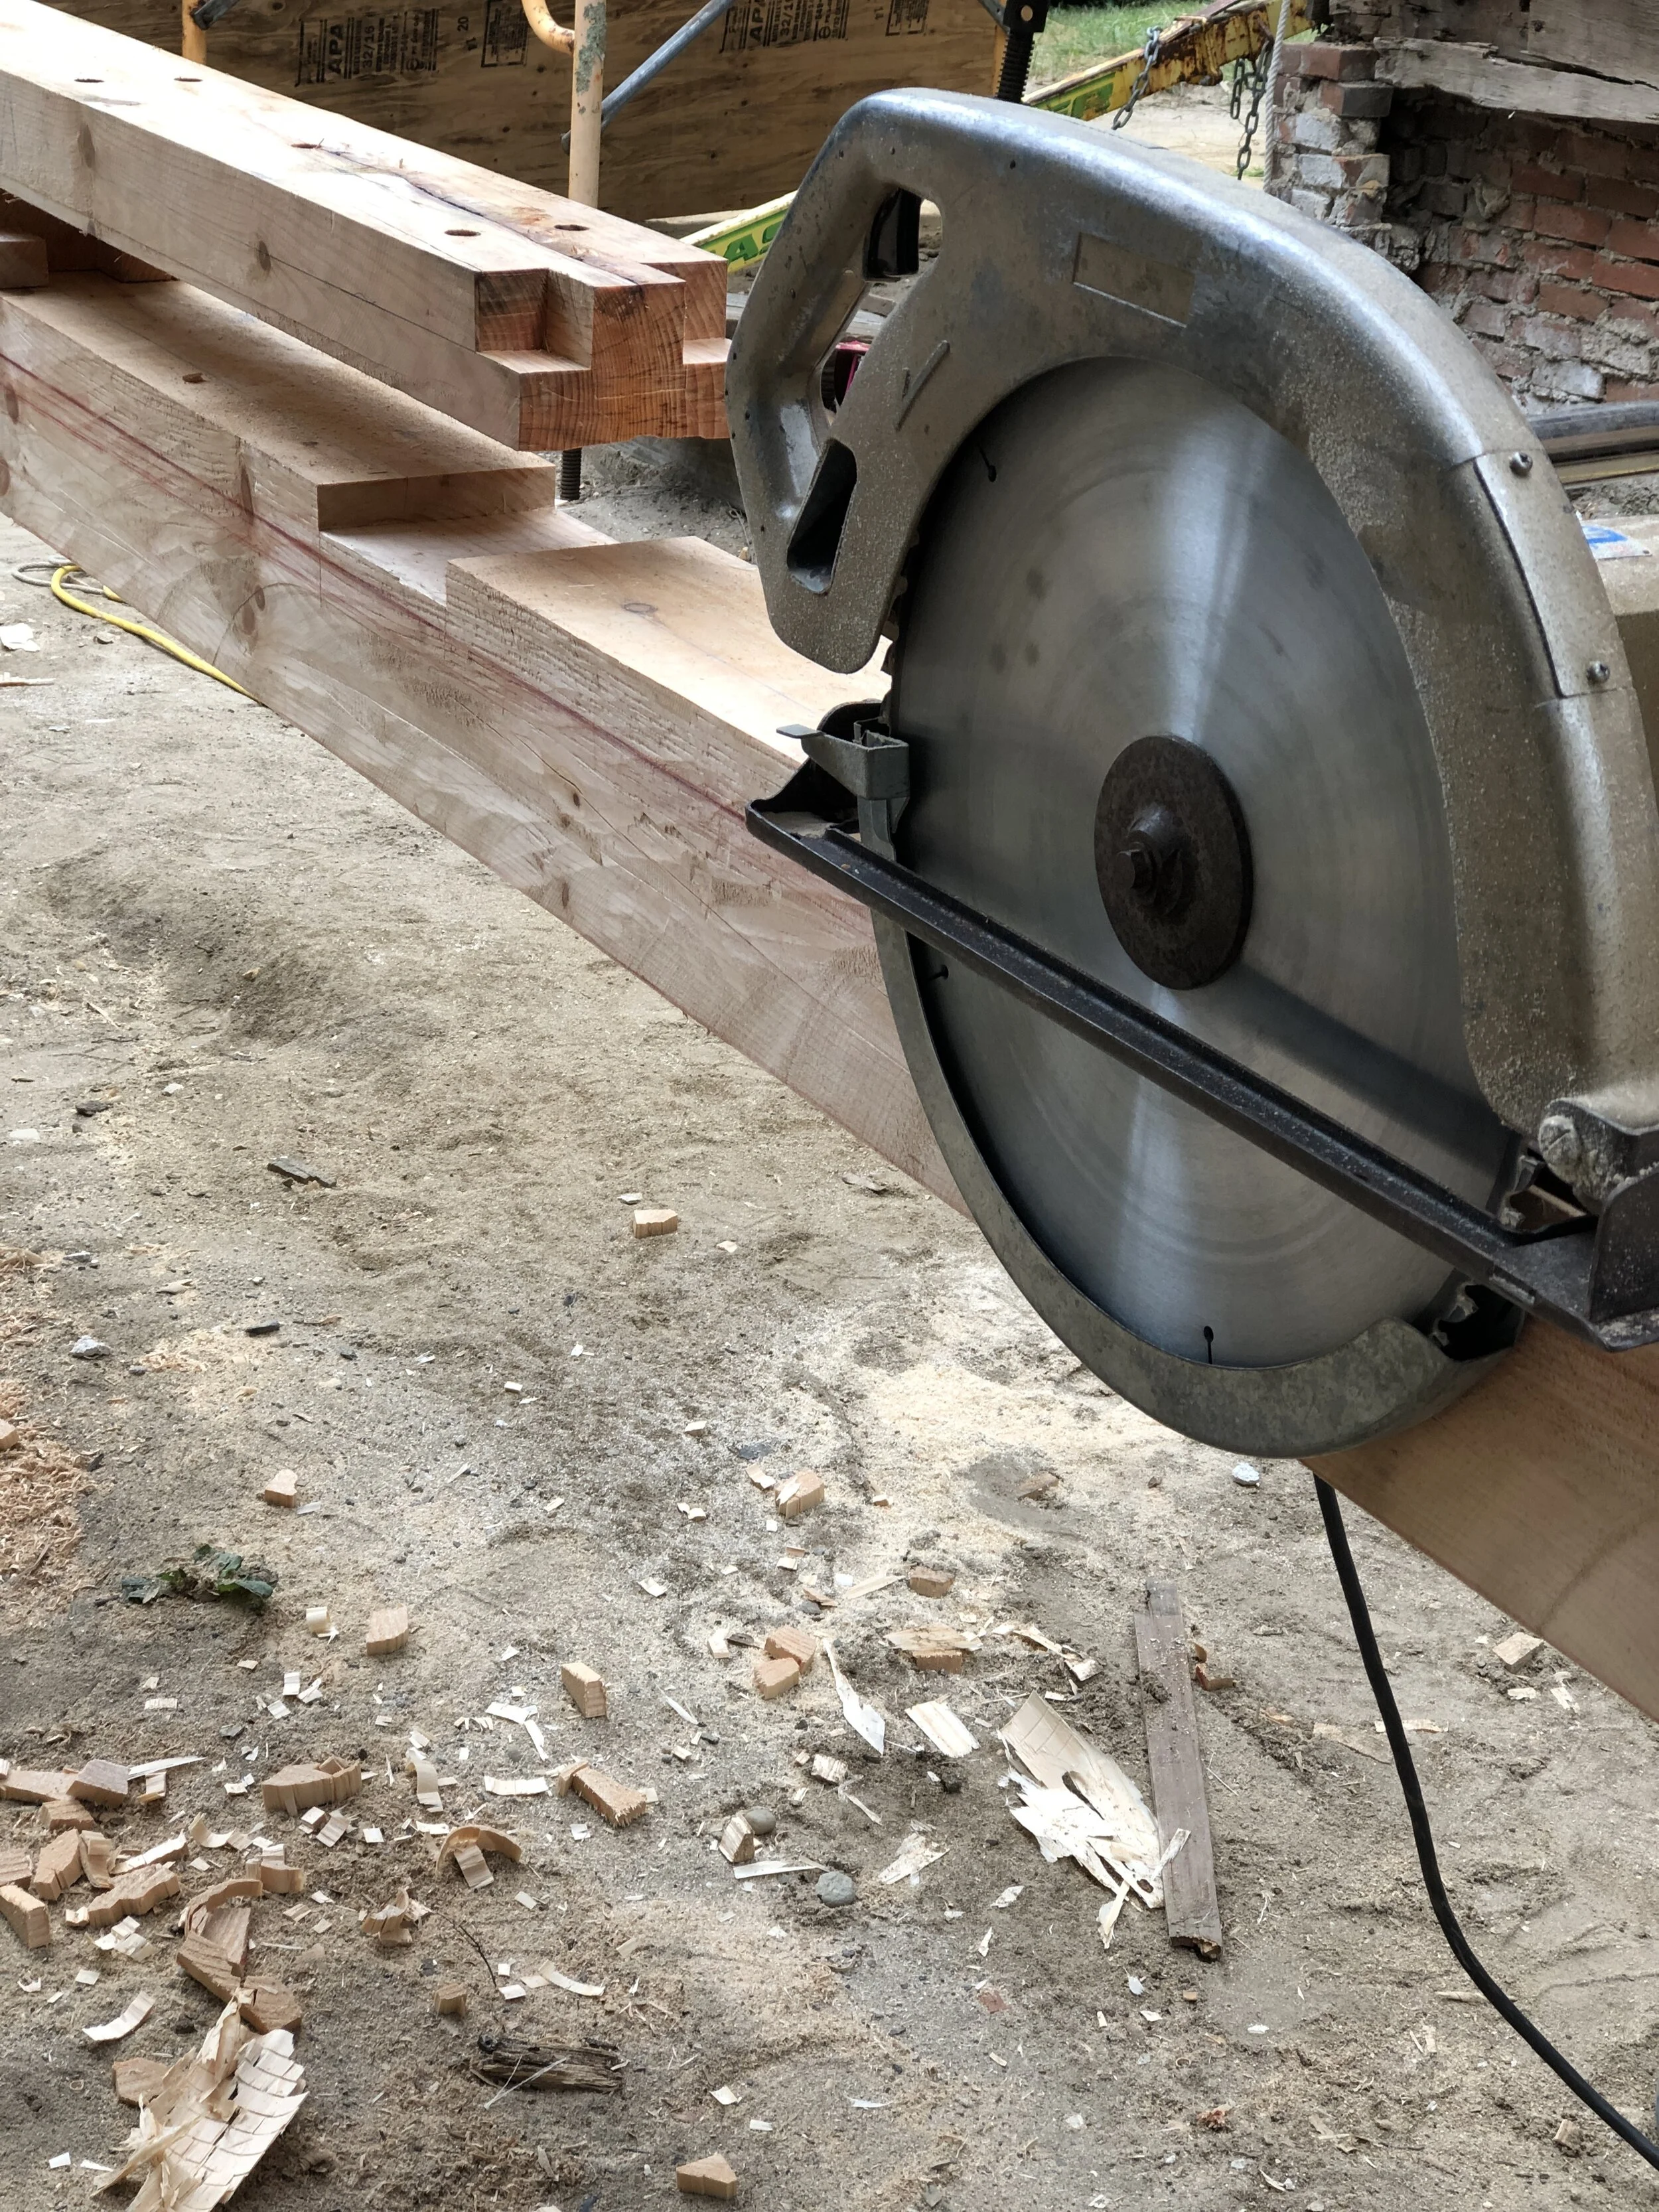
A few tools of the trade.
While the guys have been working on the frame, I’ve been focussed on the interior trim. My next post will show the results of my many (many) hours of paint stripping…
Until next time,
Sarah